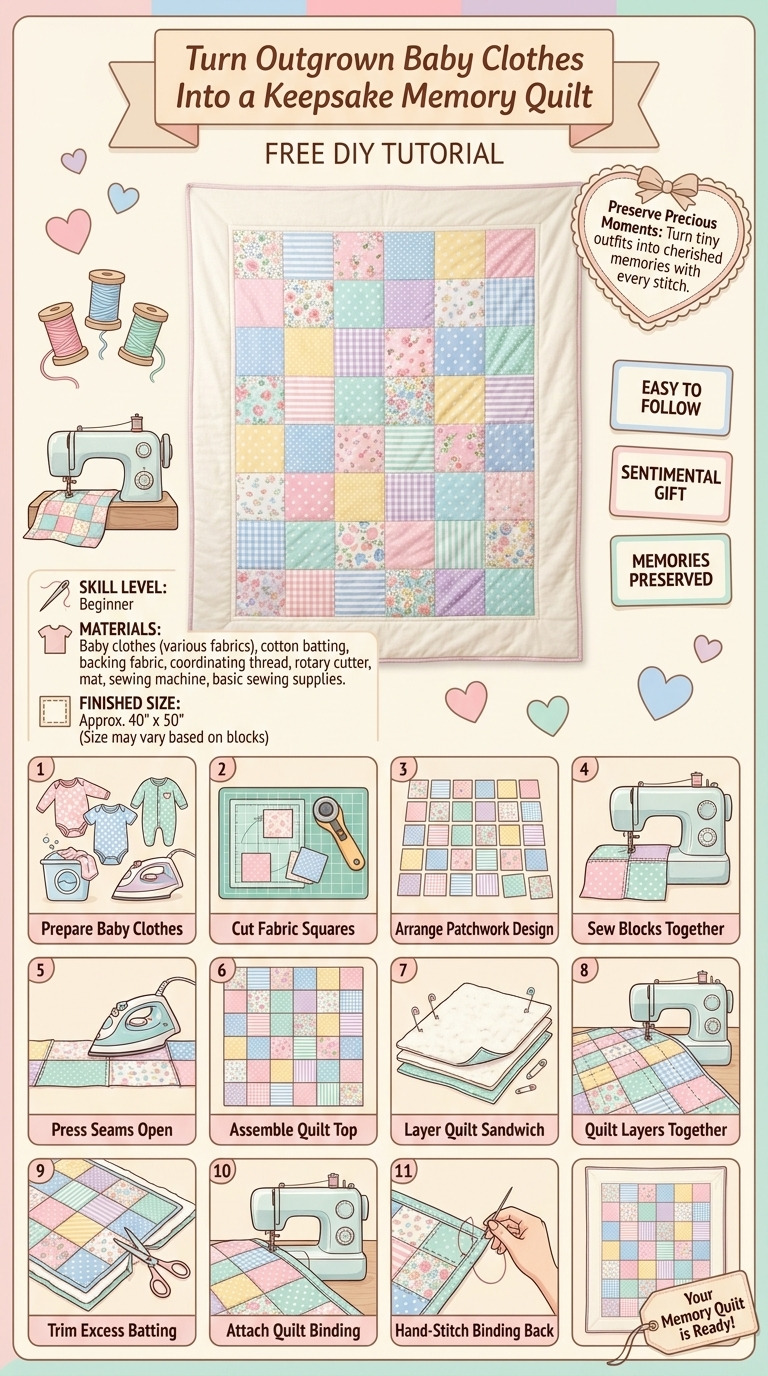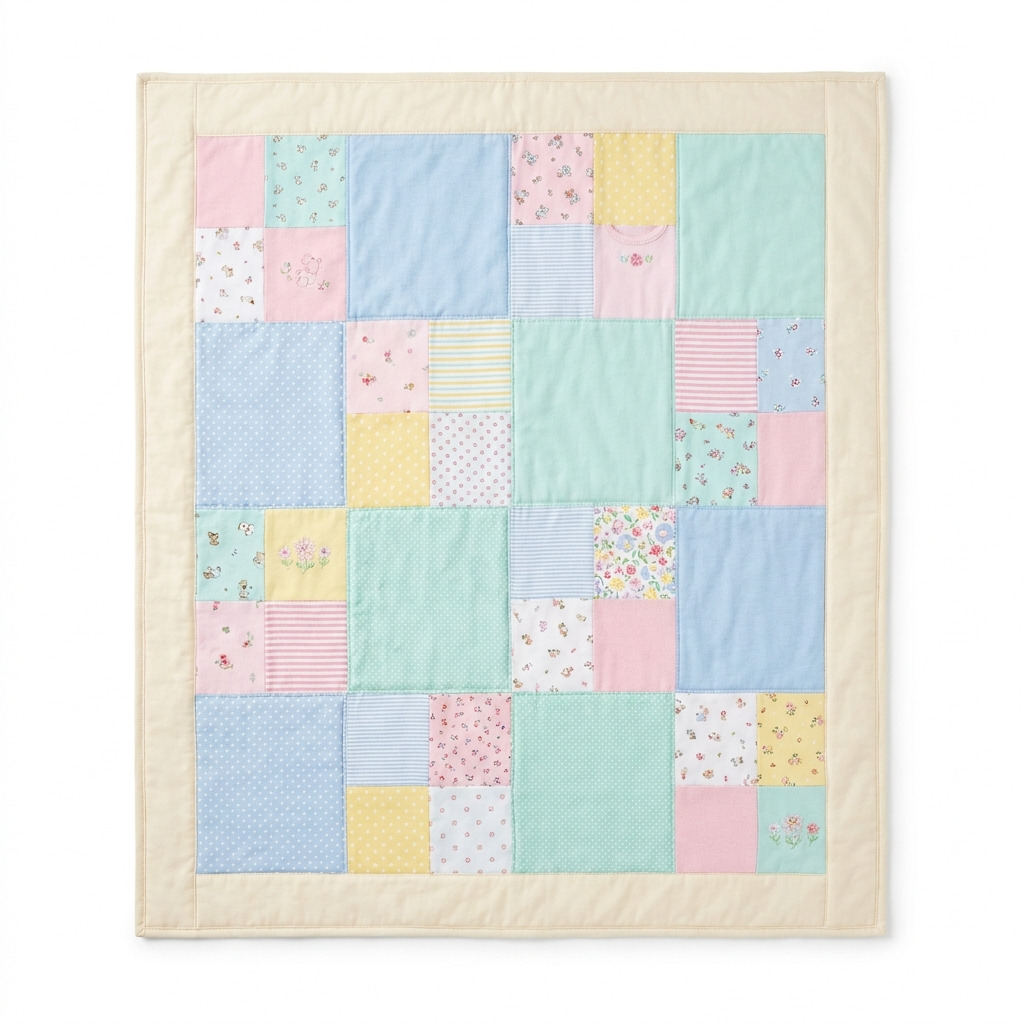
There’s something so special about preserving childhood memories, isn’t there? I knew I had to create a keepsake memory quilt when I found a pile of my little one’s outgrown clothes hiding in the closet. Those adorable onesies, tiny pants, and cozy little sweaters held memories I didn’t want to let go of. I wanted something beautiful and functional to wrap around us on chilly nights, and a quilt seemed just right.
Making this quilt not only gave me a way to keep those sweet memories close but also turned those clothes into a cozy reminder of the little moments that flew by so quickly. This is truly a lovely project that anyone can do, even if you haven't sewn before! I’ll walk you through every step, so you can create your own beautiful memory quilt, too.
[Descriptive image caption of the finished project]
What You'll Need
Materials:
- Baby clothes: Approximately 10–15 pieces (Choose various fabrics like cotton, knit, and flannel. The variety adds character!)
- Cotton batting: 48 inches x 60 inches (This gives your quilt warmth and thickness.)
- Cotton quilt backing fabric: 48 inches x 60 inches (You can choose a solid color or soft print that compliments the clothes.)
- Cotton thread: One spool each of white and matching colors to the clothing (Always good to have matching colors!)
- Fabric scissors: One pair (Keep these handy for cutting fabric.)
- Quilting ruler: 6 inches x 24 inches (Helps with precise cuts.)
- Rotary cutter: 45mm (Makes cutting fabric super easy and accurate.)
- Cutting mat: 24 inches x 36 inches (Protects your table and helps with cutting.)
- Pins: At least 50 (For holding pieces together while you sew.)
- Sewing machine: Standard domestic sewing machine (You can also sew by hand, though it will take longer.)
- Iron and ironing board: (Essential for pressing seams flat.)
- Fabric interfacing (optional): To stabilize delicate fabrics (Great if working with stretchy materials.)
- Embroidery floss (optional): For decorative stitching (A fun way to add personal touches.)
- Needle: Hand sewing for optional embellishments
Tools:
- Rotary cutter (45mm)
- Cutting mat (24 inches x 36 inches)
- Quilting ruler (6 inches x 24 inches)
- Sewing machine
- Iron and ironing board
- Fabric scissors
- Pins for holding pieces together
- Safety equipment: None specifically required, but use caution with cutters and irons
How to Make It, Step by Step
Step 1: Prepare Your Workspace
Start by setting up your workspace on a large, flat surface like a table or clean floor. You’ll want to make sure it’s clear of clutter because you need room to spread out your fabric pieces.
Step 2: Gather Your Baby Clothes
Collect about 10–15 of your favorite outgrown baby clothes. Make sure they’re clean and free of any stains. This is going to be nostalgic, so pick the ones that bring back sweet memories!
Step 3: Stabilize Delicate Fabrics
If any of your clothes are delicate, like knits, apply fabric interfacing to the back of those areas. This will keep them from stretching or distorting when you cut.
Step 4: Cut Out Squares from Clothes
Using fabric scissors, cut each clothing item into squares. Aim for about 10 inches x 10 inches per square. You’ll need at least 12 squares, but if you have extras, use them for added variety.
Tip: Before you start cutting, lay the clothes flat and decide the best way to cut around any designs or logos on them.
Step 5: Use the Quilting Ruler and Rotary Cutter
Layer the fabric squares to make cutting easier. Using your rotary cutter and quilting ruler, place the ruler along your cutting line for a neat edge. This will give you a professional look.
Step 6: Arrange the Squares
Lay the 10-inch squares out in a pattern that appeals to you. I like to do a 4×5 grid, but you can be creative! Try mixing colors and patterns until you’re pleased with the look.
Step 7: Pin Squares Together
Take your first row of squares and pin two squares right sides together along one edge. This will help them stay in place while you sew.
Step 8: Sew the First Row
Using your sewing machine, sew along the pinned edge with a ¼ inch seam allowance. When finished, use your iron to press the seams open. This keeps everything laying flat.
Step 9: Complete Remaining Rows
Continue the pinning and sewing process for each row, making a total of five rows. Don’t skip cleaning up your seams; it really helps everything look neat!
Step 10: Join Rows
Now, pin and sew one completed row to the next, making sure to line up the seams. Press them open again with the iron for best results.
Step 11: Layer the Quilt
Take your backing fabric and lay it right side down on a flat surface. On top of that, place your cotton batting, and finally, place your quilt top right side up.
Step 12: Pin All Layers Together
Starting from the center, pin through all three layers. This keeps everything secure as you quilt. Don’t skimp on the pins – it helps to prevent shifting!
Step 13: Sew Through Layers
Use your sewing machine to sew through all the layers. You can follow straight lines or create your own design. A walking foot works wonders here to keep the layers feeding smoothly through the machine.
Step 14: Trim Excess Batting and Backing
After quilting, take a look at the edges of your quilt. Trim away any excess batting or backing fabric for a clean edge.
Step 15: Create and Attach Binding
Cut strips of fabric for binding, each 2.5 inches wide. Sew the strips together to make one long strip, about 180 inches long. Fold the binding in half, press it, then sew it to the edge of the quilt using a ¼ inch seam allowance. Fold it over to the back and hand-stitch or machine stitch to secure.
Step 16: Final Press
Once the binding is securely attached, give your quilt a good press with the iron. This will help everything lay beautifully.
Common Mistakes to Avoid
- Not pre-washing fabrics. If you skip washing, the quilt may shrink later and distort the shapes.
- Skipping stabilization on delicate fabrics. Not using interfacing can cause stretchy fabrics to warp or stretch out during cutting and sewing.
- Forgetting to press seams. If you don’t press your seams open, it can lead to bulky areas that affect how the quilt lies flat.
- Not securing layers well enough. If you don’t pin the layers thoroughly, they may shift during quilting, ruining the design.
- Rushing the sewing. Sewing too fast can cause uneven seams or missed stitches. Take your time; it will be worth it.
Make It Your Own: Variations and Ideas
- Different Square Sizes: Try using different sizes for your squares, like 8 inches x 8 inches for a more modern look.
- Triangle Patchwork: You could cut triangles instead for a fun patchwork effect.
- Personalized Labels: Add an embroidered name or date to a square for a special touch.
- Seasonal Themes: Make quilts for various seasons using seasonal clothing to change it up throughout the year.
- Gift Ideas: Create these for special baby showers, using newborn clothes originally gifted or even for your children as they grow.
Just let your creativity guide you! Making this quilt is as much about the memories as the final product, so enjoy the process.
Before You Go
Pin this for the next rainy afternoon: Save this guide to your Pinterest board so you can easily find these measurements and steps when you’re ready to piece together your keepsake memory quilt!
Come back and tell me how it went: I love hearing your stories! Don’t hesitate to reach out with any questions, no matter how small. Projects sometimes go sideways, and I want to hear all about it!
Show off what you made: I can't wait to see your finished quilt! Sharing your creations brings joy to the crafting community, so don’t hold back!