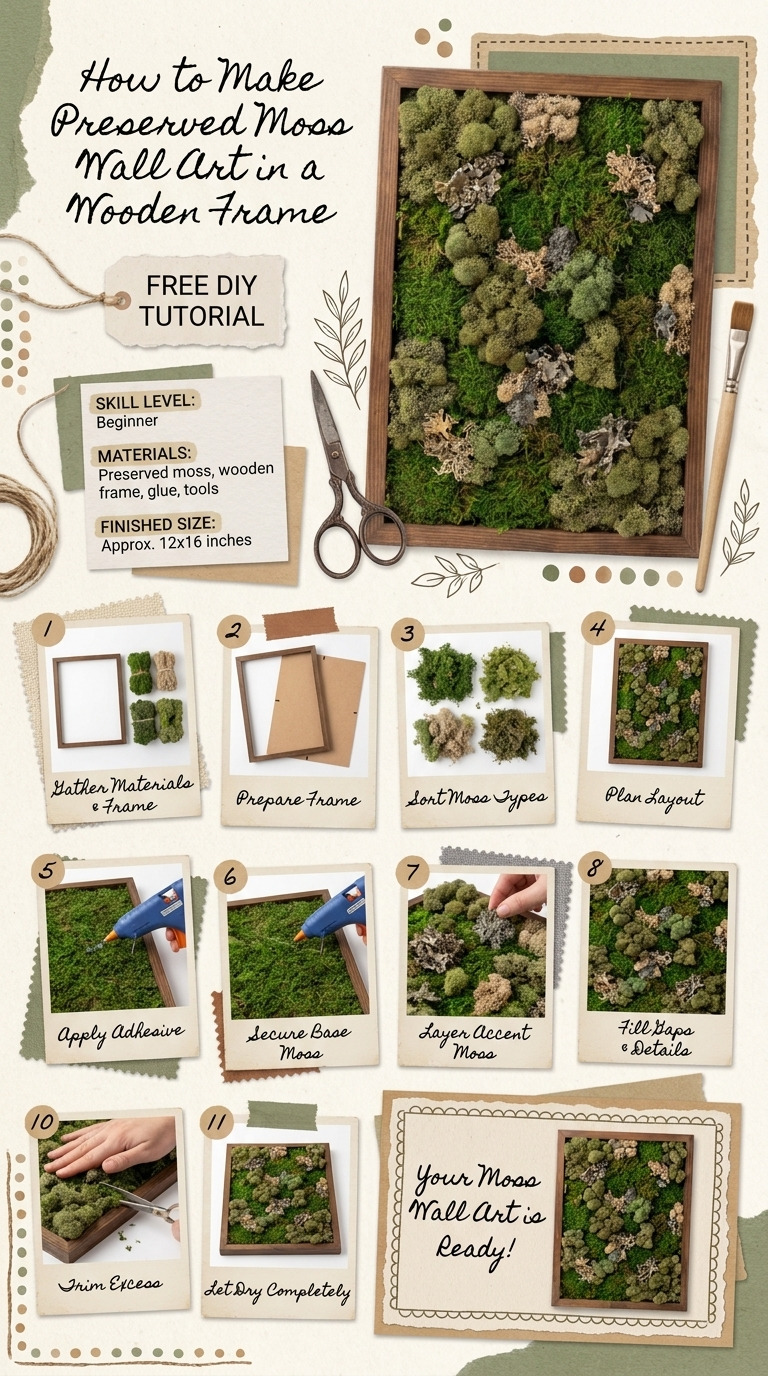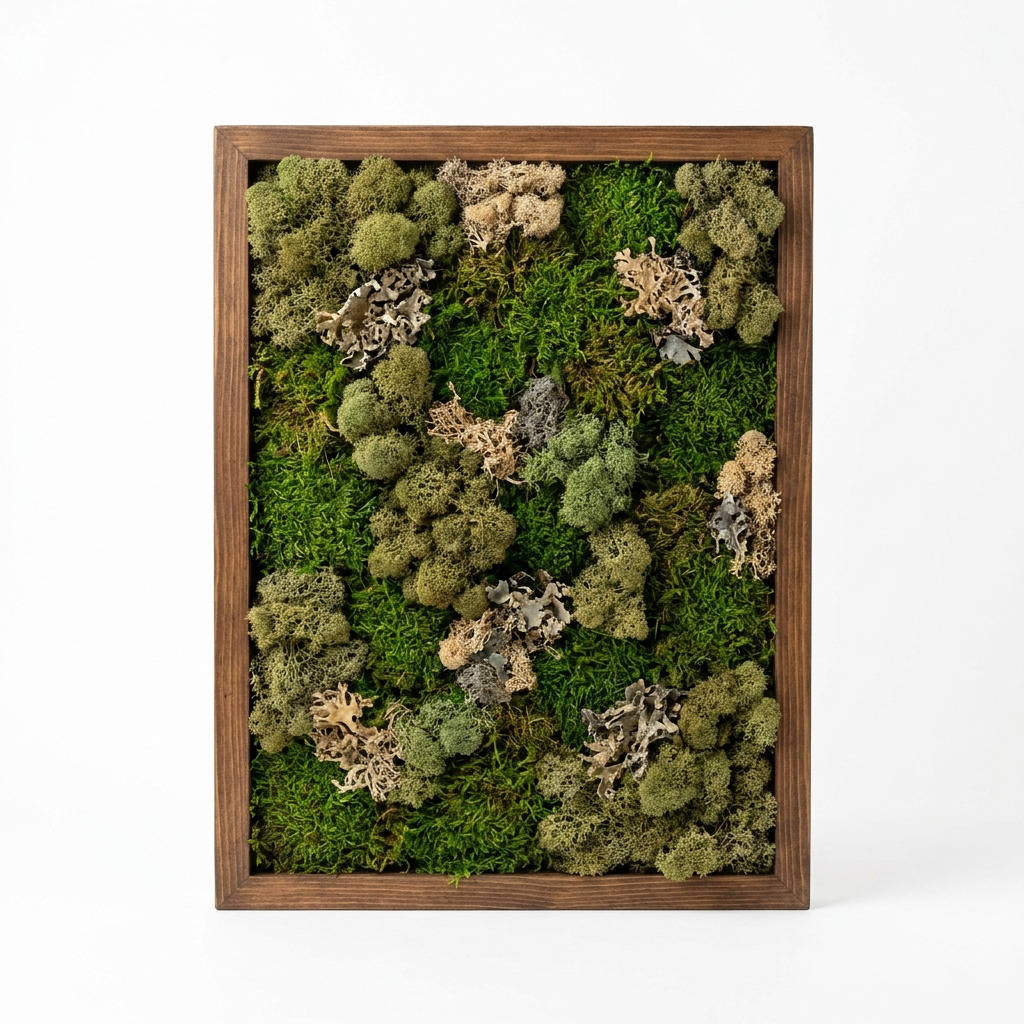
A couple of months ago, I was wandering through my local craft store and came across a beautiful piece of wall art made from preserved moss. It had such a calming, natural vibe that I couldn’t resist but admire it for ages. But at the same time, I thought, “I could make that!” I wanted to bring a bit of nature indoors without the hassle of keeping live plants, and creating my own preserved moss wall art seemed like the perfect project.
Fast forward to today – I now have this stunning piece hanging above my couch, and it never ceases to amaze my guests. It’s such a unique decoration and adds a refreshing touch to my living space. The best part? This project is quite easy and requires just a few materials and steps. Come along as I walk you through making your own preserved moss wall art in a lovely wooden frame!
[Descriptive image caption of the finished project]
What You'll Need
Materials:
- Wood for Frame:
- 1 x 3 inch pine boards, 8 feet long (you’ll need 4 pieces for the frame sides)
- Preserved Moss:
- 1 bag of reindeer moss (approximately 4 ounces) – this gives a fluffy texture
- 1 bag of sheet moss (approximately 4 ounces) – for a flat, lush look
- 1 bag of dried lichen (optional for texture and color) – adds a rustic touch
- Glue:
- 1 bottle of strong white craft glue (like Aleene's Original Tacky Glue) – this is crucial for securing the moss
- Wood Stain or Paint (optional):
- 1 quart of walnut wood stain or any acrylic paint of your choice – for personalizing the frame
- Backing Material:
- 1 sheet of 1/4 inch thick plywood, cut to 24 inches x 18 inches – this holds your moss
- Hanging Hardware:
- 1 picture hanger or two D-rings – to hang your artwork
- Cord:
- 1 length of picture-hanging wire, 24 inches – for ease of hanging
Tools:
- Hand Tools:
- Miter saw or hand saw (for cutting the wood into sizes)
- Drill with drill bit (1/8 inch for pilot holes)
- Sandpaper (120 and 220 grit) – for smoothing edges and surfaces
- Clamps (at least 2 large clamps) – to hold the frame together while drying
- Paintbrush (1-inch wide for stain) – for applying any wood finish
- Safety Equipment:
- Dust mask (for cutting wood) – to keep out sawdust
- Safety glasses – to protect your eyes when cutting
How to Make It, Step by Step
Step 1: Cut the Wood for the Frame
Start by cutting your pine boards to the needed sizes. Using a miter saw makes it easier, but a hand saw will do just fine if that’s what you have. You’ll need:
- 2 pieces at 24 inches for the vertical sides
- 2 pieces at 18 inches for the horizontal sides
Make sure those cuts are straight! This is crucial for the frame to come together neatly.
Tip: If your saw has a guide, use it to help keep your cuts straight. If you need to make adjustments, take your time – you really can't mess up with a little patience here!
Step 2: Assemble the Wooden Frame
Lay the two 24-inch pieces vertically and the two 18-inch pieces horizontally to create a rectangle. Apply some wood glue to the ends of the horizontal pieces and carefully insert them into the corners of the vertical pieces.
Clamp tightly to hold everything in place. You'll want to allow this to dry for at least 1 hour before moving on.
Mistake I Made: The first time, I skipped the clamping and my frame ended up a bit wobbly. Take the time to clamp it – it’s worth it!
Step 3: Prepare the Plywood Backing
Take your 24-inch by 18-inch plywood sheet and make sure it’s smooth to the touch. You don’t want any splinters, so if needed, sand any rough edges until it feels nice and smooth.
Step 4: Attach the Plywood to the Frame
With the frame now glued and set, place the plywood backing inside the frame. You can secure it using screws or more wood glue. If you go the screw route, drill pilot holes first to make the process smoother.
Let this set for another hour to ensure all connections are solid.
Step 5: Arrange the Preserved Moss
Now it’s time to get creative! Lay out your reindeer moss, sheet moss, and optional lichen on the plywood backing without glue first. This way, you can visualize your design before securing anything in place. I like to play around with different textures and colors until I’m happy.
Step 6: Adhere the Moss
Once you’re satisfied with your layout, it’s time to start gluing! Work in sections – place a small amount of glue on the plywood, press the moss into it, and hold for a few seconds to secure.
Continue until the design is fully filled. Allow each section to dry for about 30 minutes before moving on to the next area.
Tip: Use a toothpick or similar tool to help place the moss in tight spots. It can be tricky to get it just right!
Step 7: Add Hanging Hardware
Once all your moss is firmly adhered (this will take about 2-3 hours to dry completely), you can add your hanging hardware to the back of the frame. Use either a picture hanger or two D-rings – whichever you have handy. Just make sure everything is secure!
Common Mistakes to Avoid
- Rushing the glue. If you don’t allow the glue to set properly, your whole piece might fall apart! Trust me, I’ve learned this the hard way.
- Using too much glue. It can make the moss soggy and cause it to lose its lovely texture. Use just enough to hold it in place.
- Not sanding the wood. Rough edges can lead to splinters later. Sand carefully to create a smooth finish that feels nice.
- Skipping the pilot holes for screws. If you forget this step, you risk splitting the wood. Always drill pilot holes first!
Make It Your Own: Variations and Ideas
- Color Choices: Experiment with different wood stains or paints to match your decor – a distressed white might look lovely, too.
- Size Adjustments: Feel free to alter the size of your frame to fit your space. A larger piece can be an eye-catching centerpiece!
- Different Moss Types: Try using different types of preserved moss and lichen for varied color and texture. A pop of purple or bright green can add life!
- Gift Idea: Considering making one for a friend or family member? Personalize it to their taste or color scheme. They’ll absolutely love the handmade touch!
This project truly reflects your style, and I can’t wait for you to make your own!
Before You Go
- Pin this for the next rainy afternoon: When you're ready to dive into your own moss wall art project, be sure to save this post so you can easily return to the steps and materials!
- Come back and tell me how it went: I’d love to hear your questions or see how your creation turned out! No question is too small, and every project is a journey.
- Show off what you made: Please feel free to share your finished piece. I can’t wait to see how you personalize your moss wall art!
Happy crafting!