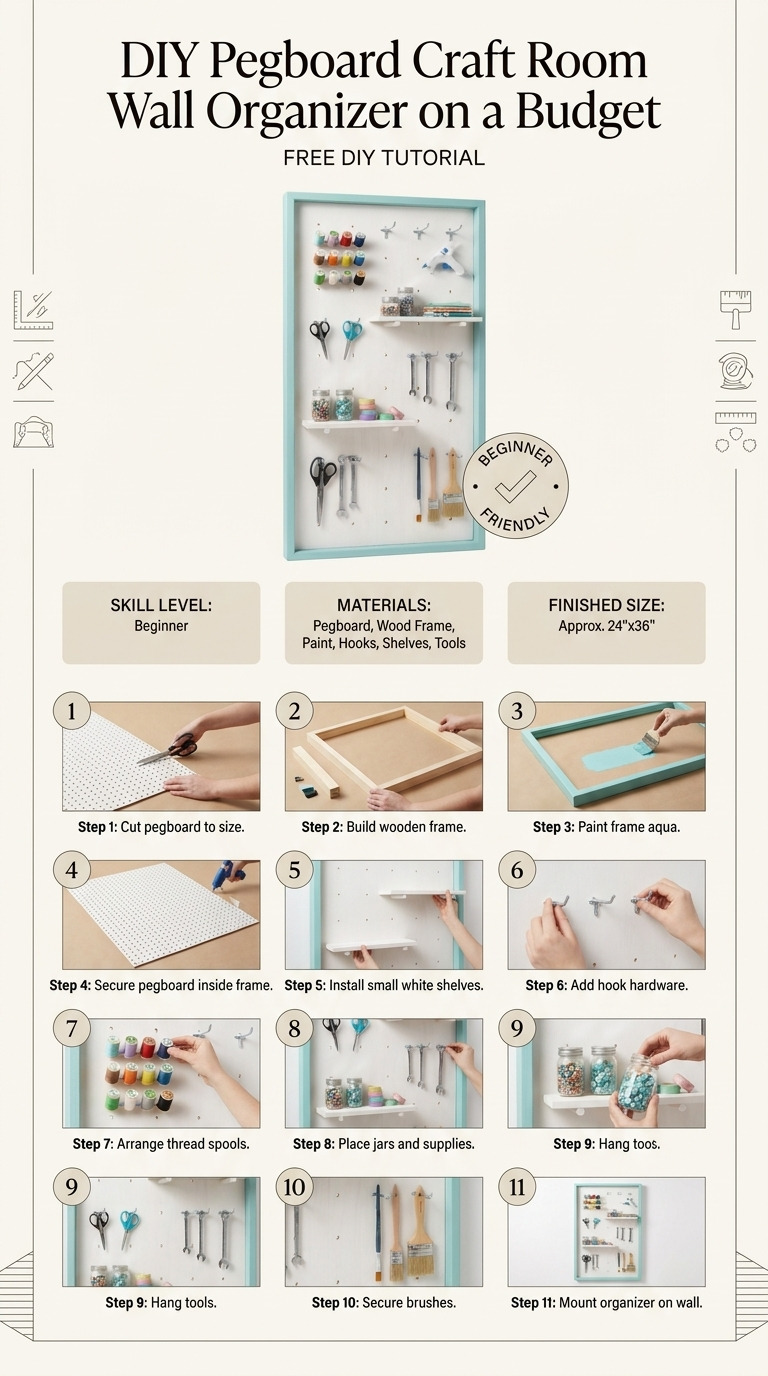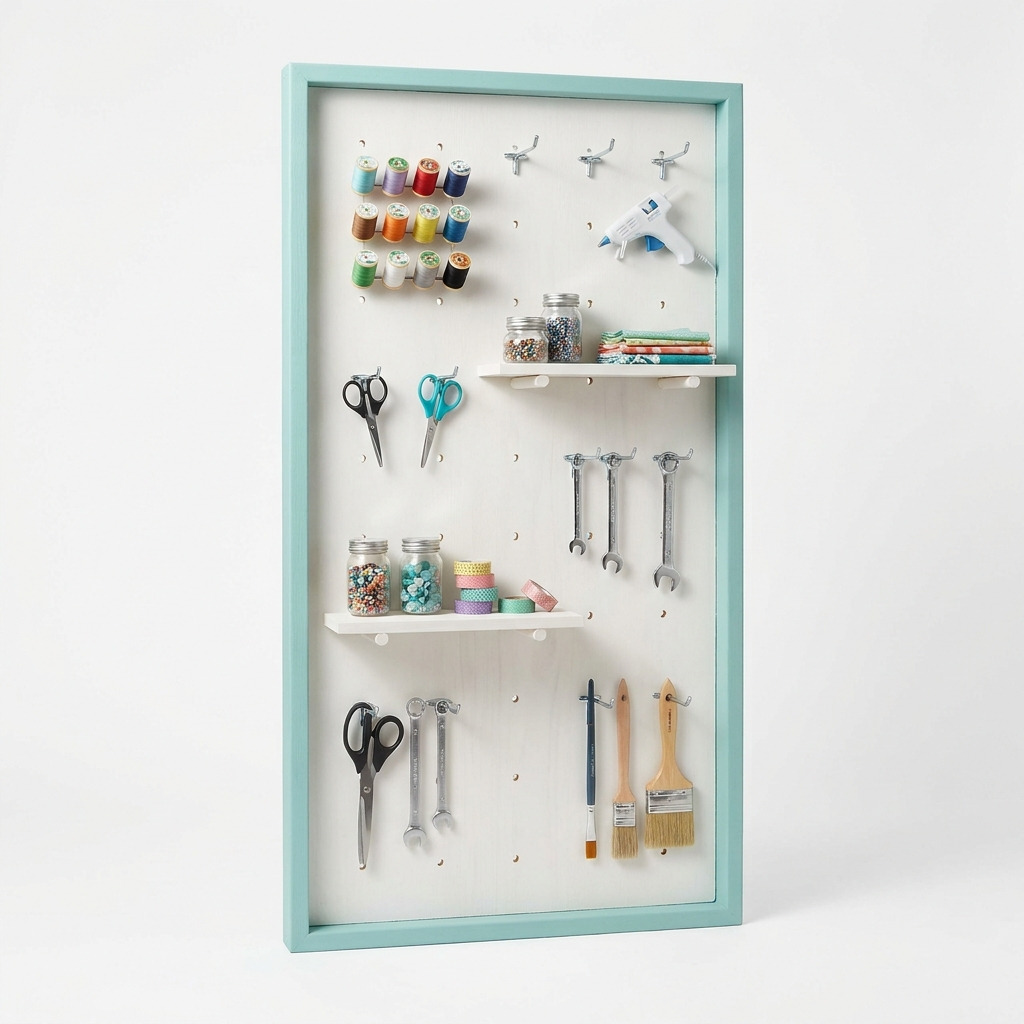
I still remember when my craft supplies were scattered all over the place — glues in one drawer, scissors in another, and my yarn rolled under the couch (not a great hiding place!). Frustrated by the chaos, I found inspiration in the idea of a pegboard organizer to keep everything neat and within arm's reach. The elegant yet practical design allows me to showcase my favorite tools while keeping my workspace tidy. Now, I have a beautiful 24-inch by 48-inch pegboard wall organizer right in my craft room, and I can't tell you how much it has simplified my crafting experience.
This project is straightforward and perfect for beginners, so don’t worry if you’ve never crafted something like this before. I’ll guide you through every single step, making sure you have all the details you need to recreate it successfully — on a budget!
[Descriptive image caption of the finished project]
What You'll Need
Materials:
- Pegboard: 1 sheet of 24" x 48" wood or metal pegboard (white or natural finish). Get either kind based on your personal preference!
- Wood (for frame): 1" x 2" lumber, 2 pieces cut to 48" (vertical) and 2 pieces cut to 24" (horizontal). This will form a sturdy frame for your pegboard.
- Wood Screws: 1" wood screws, about 16 pieces. These will secure the pegboard to the frame.
- Wall Anchors: 4 heavy-duty wall anchors capable of handling 50 lbs. (optional). If you're mounting on drywall, these will ensure your pegboard doesn’t come crashing down.
- Hooks and Accessories: 10 assorted pegboard hooks and 2 medium-sized shelves for organizing your supplies efficiently.
- Paint or Stain: Choose your favorite craft paint or wood stain (like teal or pastel) for a personal touch.
- Sandpaper: 120 grit (for smoothing edges) and 220 grit (for finishing). Smoothing things out is key in crafting!
- Clear Coat Finish: Water-based polyurethane for sealing the surface (optional, but adds a nice protective layer).
- Masking Tape: For keeping paint neat on the edges if you're painting the frame or pegboard.
Optional materials:
- Plastic bins or small containers for keeping smaller materials organized.
Tools:
- Drill: Power drill equipped with a 1/8" drill bit for making pilot holes and a screwdriver attachment.
- Saw: Use a miter saw or hand saw for cutting the wood as needed.
- Paintbrush: A 2-inch wide brush will do for general painting, plus a smaller one for any details.
- Screwdriver: Phillips head, to secure screws properly.
- Ruler or measuring tape: Essential for precise measurements.
- Cutting mat: Handy if you need to cut smaller components.
- Safety goggles: Important for your safety while drilling and cutting.
- Dust mask: Best to wear while sanding to keep your lungs clear.
How to Make It, Step by Step
Step 1: Build the Frame
- Start by laying out your vertical (48-inch) and horizontal (24-inch) wood pieces flat on your workspace.
- Using the wood screws, attach the two horizontal pieces between the vertical ones, positioning them 2 inches from the top and bottom edges.
- Pre-drilling (making a small hole first) is essential here to avoid splitting the wood — you want a strong frame! Once attached, it should create a rectangle measuring 24 inches wide by 48 inches tall.
Step 2: Paint the Frame (optional)
- If you want to spruce up your frame, grab your paint or stain and get to work! Use a brush and ensure a nice, even coverage — it makes a big difference.
- Let your frame dry completely, which usually takes about 1-2 hours, depending on your chosen paint.
Step 3: Prepare the Pegboard
- At this point, if you’d like to paint or stain your pegboard, do that now and give it ample drying time (another 1-2 hours).
- If you go with the natural wood finish, sand the edges lightly to prevent any splinters that could catch you off guard!
Step 4: Attach the Pegboard to Frame
- Once your pegboard is dry, place it against the frame, ensuring it's centered.
- Use the 1-inch wood screws to attach it firmly at each corner and in between, approximately every 12 inches. This secures everything in place perfectly!
Step 5: Prepare the Wall for Mounting
- Find a nice spot on the wall where you’d like your organizer to hang. Ideally, it should be about eye level for easy access.
- Use a level (a tool that ensures your pegboard will hang straight) to mark this line, then drill holes if you're mounting onto drywall.
Step 6: Mount the Organizer
- If you’re using wall anchors, install those first to help hold everything safely.
- Securely attach the assembled frame to the wall. Use both hands to make sure it’s tight and stable.
Step 7: Add Hooks and Accessories
- Now for the fun part! Insert your hooks and arrange your small shelves on the pegboard as you see fit. Hang up your scissors, rolls of ribbon, or anything else that fits the pegboard — get creative!
Step 8: Final Finishing Touches
- If you've painted your pegboard and frame, consider applying a protective clear coat finish to extend their life and durability.
Common Mistakes to Avoid
- Not pre-drilling holes. This can lead to the wood splitting, making everything a lot harder to put together.
- Rushing the paint drying. I made this mistake once and ended up with my frame's finish bubbling! Trust the drying time; it’s key.
- Forgetting to use a level. Without this, your pegboard could end up hanging skewed, and no one wants that mess to look at!
- Not adding enough screws. Make sure your pegboard is securely fastened — if it's wobbly, it’s going to drive you nuts!
Make It Your Own: Variations and Ideas
- Colorful pegboard. Instead of plain white, try using a fun shade or even a mix of colors for a lively touch.
- More shelves. Add additional smaller shelves for even more functionality — it's all about how you like to organize!
- Create a mini version. If you have smaller supplies, scale down the size for a desktop organizer.
- Seasonal decorations. Switch out accessories for different seasons or holidays — it’s a wonderful way to keep your space fresh.
You’ve got everything you need to create your own pegboard organizer! I can’t wait to see how yours turns out. I'm sure it will add so much charm and organization to your crafting space!
Before You Go
Pin this for the next rainy afternoon: Save this tutorial so you can find the full instructions and materials list when you’re ready to make your pegboard organizer. Come back and tell me how it went: I genuinely want to hear about your experience — whether it went smoothly or had its share of hiccups, every story is welcome! Show off what you made: I’d love to see pictures of your finished project whenever you're ready to share!