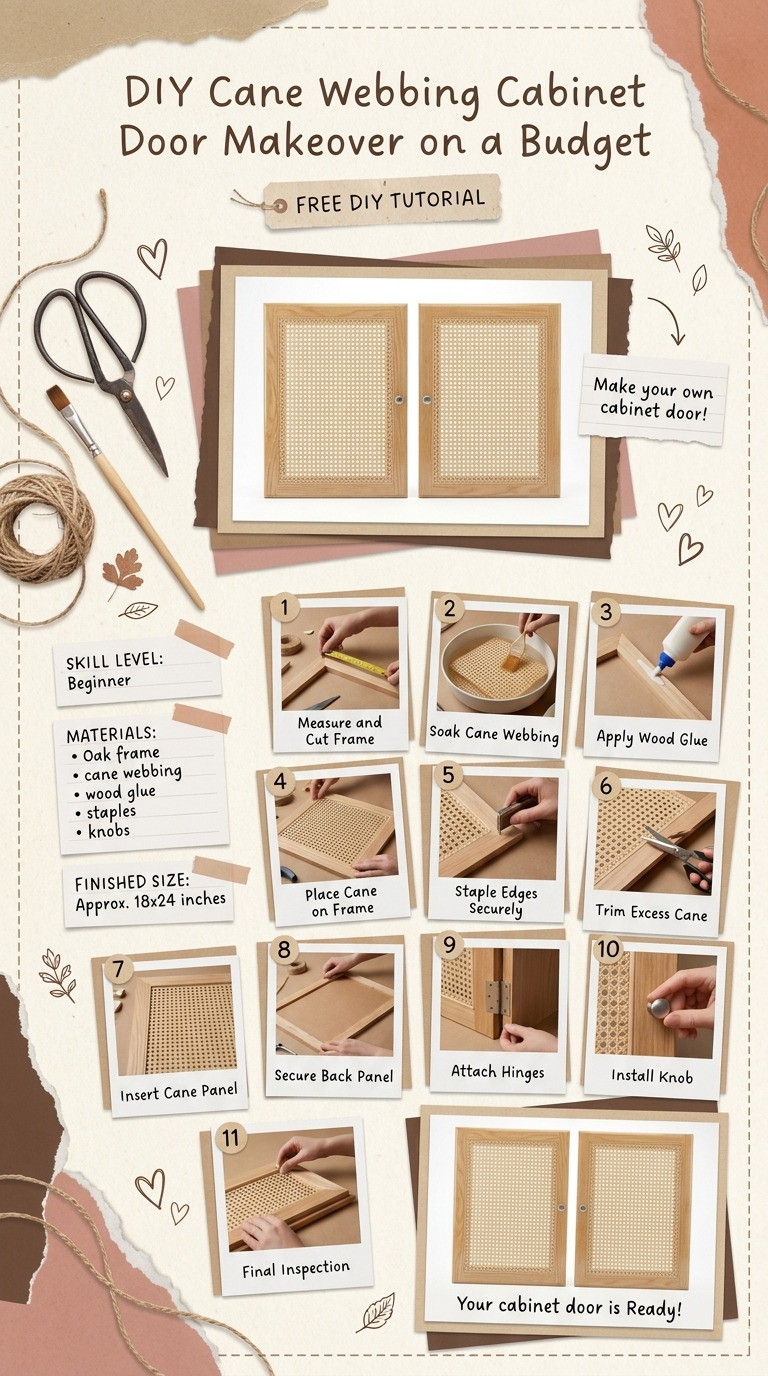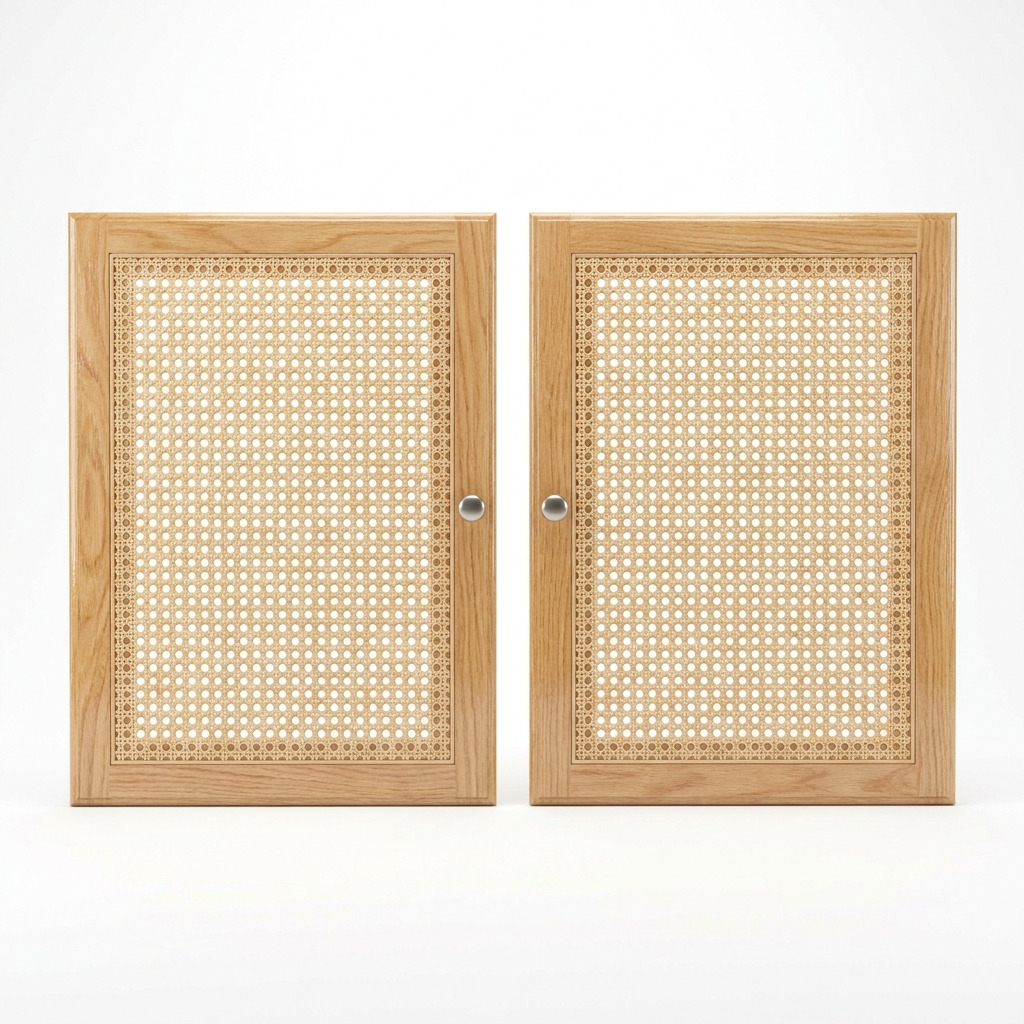
Have you ever looked at a piece of furniture and thought it could really use a refresh? That’s what happened to me with my plain cabinet doors. They were essentially just a boring backdrop in my kitchen, and I wanted something that could add a bit more style without breaking the bank. I stumbled upon the idea of using cane webbing, which is this lovely woven material that brings a touch of warmth and chicness to any space.
I decided to transform my cabinet doors from dull to dazzling, giving them a fresh, modern vibe that suits my decor. Let me tell you, it was one of the best decisions! The finished look is stunning and adds character to my kitchen. And the best part? This is a super easy project that you can totally do at home, with just a few supplies. I’ll guide you through every step, so you won’t feel lost or overwhelmed at any point.
[Descriptive image caption of the finished project]
What You'll Need
Materials:
- Cabinet doors: 2 pieces at 24" x 18" x 0.75". You can use doors from an old cabinet that you’re about to dispose of, or grab some new ones if needed.
- Cane webbing: 2 sheets at 24" x 18". Look for natural or pre-stretched webbing depending on your preference.
- Wood glue: 1 bottle. I recommend water-resistant wood glue for durability.
- Wood stain or paint: 1 quart. Choose a color that complements your space, like light oak or classic white.
- Clear polyurethane: 1 quart. This will protect your work and give it a nice finish.
- Paintbrush: 1 medium-sized (1" to 2"). A good quality brush helps make application smoother.
- Ruler or measuring tape: 1 piece. You’ll need this for accurate measurements.
- Utility knife or scissors: 1 for cutting the webbing to size.
- J-clips or staples: 1 package. Use these if you're not opting for the glue method to secure the webbing.
- Sandpaper: 1 sheet (180 grit) for prepping the surfaces.
- Optional embellishments: 2 handle pulls or knobs to give a polished look.
Tools:
- Screwdriver: Standard, for removing hinges and installing knobs.
- Clamps: 4 pieces to hold the webbing in place while drying.
- Hot glue gun: 1 (optional), for extra securing of webbing edges if desired.
- Safety glasses: 1 pair, because it’s always good to protect your eyes.
- Dust mask: 1 (optional) for comfort while sanding.
How to Make It, Step by Step
Step 1: Sand the Cabinet Doors
Start off by lightly sanding the surfaces of each cabinet door using the 180 grit sandpaper. Focus on areas like the edges and corners to remove any gloss or old finishes. This should take about 15 minutes, and it's crucial for the paint or stain to adhere well. Once done, grab a damp cloth and wipe down the doors to remove any dust.
Step 2: Stain or Paint the Doors
Next, it’s time to add some color! Use your medium-sized paintbrush to apply your chosen wood stain or paint all over the cabinet doors, making sure to cover the edges too. Go for even strokes to avoid brush marks — I promise, it makes a huge difference. Allow them to dry for about 2 to 4 hours, following the manufacturer’s instructions. Try to resist touching them during this time; I made that mistake once, and it left some unsightly fingerprints!
Step 3: Cut Cane Webbing (if necessary)
If your cane webbing isn’t pre-cut, it’s time to measure and mark two pieces at 24" x 18". Use your ruler for accuracy (this really helps if you want a neat finish!) and carefully cut with your utility knife or scissors. Take your time here!
Step 4: Attach Cane Webbing
Now comes the fun part! Position each piece of cane webbing on top of the cabinet doors. If you’re opting for wood glue, apply a thin, even layer around the edges of the door before firmly pressing the webbing onto it. If you’re going with J-clips or staples, simply attach them around the perimeter of the door, spacing them about every 3-4 inches so it’s nice and secure.
Step 5: Secure Edges
Using clamps, hold the webbing tight against the wood. Don’t skip this part — it’s what keeps everything in place! Let the glue dry for about 1-2 hours, or until it feels solid. Pinch test the webbing to make sure it’s stable before moving on.
Step 6: Apply Clear Polyurethane
Once the webbing is secured and everything has dried, grab your clean paintbrush and apply a thin coat of clear polyurethane over the stained or painted doors. This will protect them and give them a lovely sheen. Allow the first coat to dry for about 2 hours, then lightly sand again with 220-grit sandpaper before applying a second coat. This should cure for at least 4 hours — patience is key here!
Step 7: Reattach Hinges and Install Knobs
If you want to add some handles or knobs now is the time! Measure and mark their positions on the cabinet doors, drill holes accordingly, and install with screws. Finally, reattach the doors to the cabinet using your screwdriver.
Common Mistakes to Avoid
- Rushing the glue. If you don’t allow the glue to dry fully before you clamp, the webbing might peel up later. Let it set 1-2 hours at least!
- Skipping the sanding step. Not sanding means the paint or stain might not adhere well and can result in unsightly chipping. Always sand first!
- Overloading on stain or paint. Applying too much can cause drips; always go with a thin coat and add more if needed.
- Not checking webbing stability. If the webbing feels loose after clamping, it probably isn’t ready yet. Give it more time!
Make It Your Own: Variations and Ideas
- Experiment with colors: Don’t be afraid to try bold colors for your doors or webbing for a funky twist.
- Mix and match finishes: Maybe stain the doors but leave the webbing natural for a two-tone effect.
- Add a patterned knob: Changing out the knobs for something more colorful or textured can completely change the feel!
- Try different textures for the doors: If you have a knack for other materials, consider using wallpaper or fabric instead of webbing!
You have all the tools and tips to create something uniquely yours. I hope you dive right into this project and make it your own!
Before You Go
Pin this for the next rainy afternoon: save this post so you can come back to the steps for your cane webbing cabinet door makeover! I can't wait to hear how it goes for you.
Come back and tell me how it went! No question is too basic, and if your project went a little wonky, I’d love to hear about that too.
Show off what you made! I’m so excited to see your beautiful handiwork — share your fabulous finished project with friends and family!