When the chilly weather rolls in, it's time to snuggle up with something cozy! Last year, I found myself dreaming of a warm and comfy blanket that wouldn’t break the bank. I wanted something stylish for my living room but couldn’t find anything that really appealed to me—everything seemed so pricey! That's when I decided to make a no-sew fleece blanket. Not only is it soft and warm, but it's super easy to make—so easy, in fact, that I managed to whip one up while binge-watching my favorite show. Now, this blanket lives on my couch, ready to wrap me in warmth any time I want. Trust me, this is an easy project, and I’ll guide you through each step!
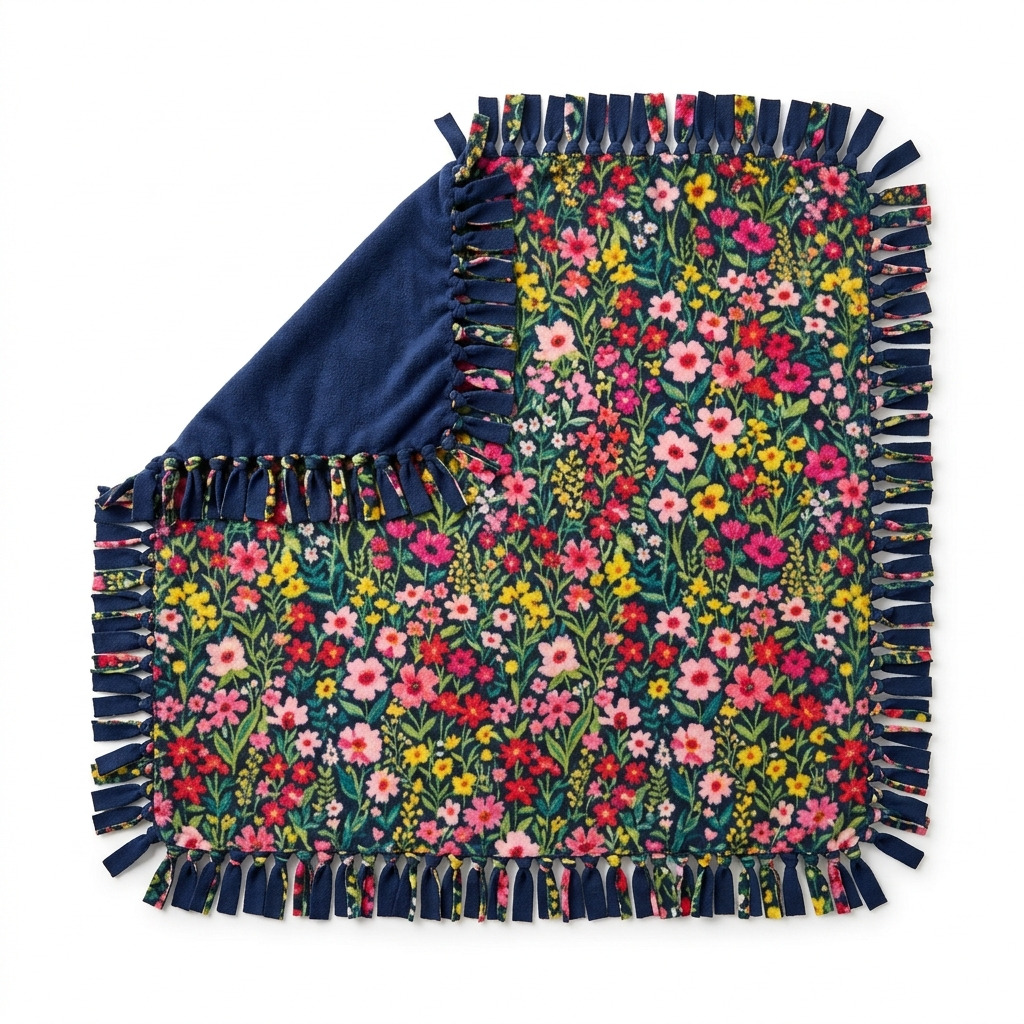
[Descriptive image caption of the finished project]
What You’ll Need
Materials:
- Fleece Fabric:
- Quantity: 2 pieces
- Size of each piece: 50 inches x 60 inches
- Colors: One solid color (like navy blue) and one patterned fabric (like floral print or polka dots)
- Scissors:
- Sharp fabric scissors for clean cuts; if you don’t have them, regular scissors can work too, but you might need to go a little slower.
- Ruler or Measuring Tape:
- This helps ensure your pieces are the right size. A 60-inch tape works perfectly.
- Chalk or Fabric Marker (optional):
- If you like marking your fabric before cutting, these are great for precise lines.
Tools:
- Cutting Mat (optional):
- If you have one, it can protect your table and make cutting easier.
- Safety Equipment: None needed, but always be careful with scissors!
How to Make It, Step by Step
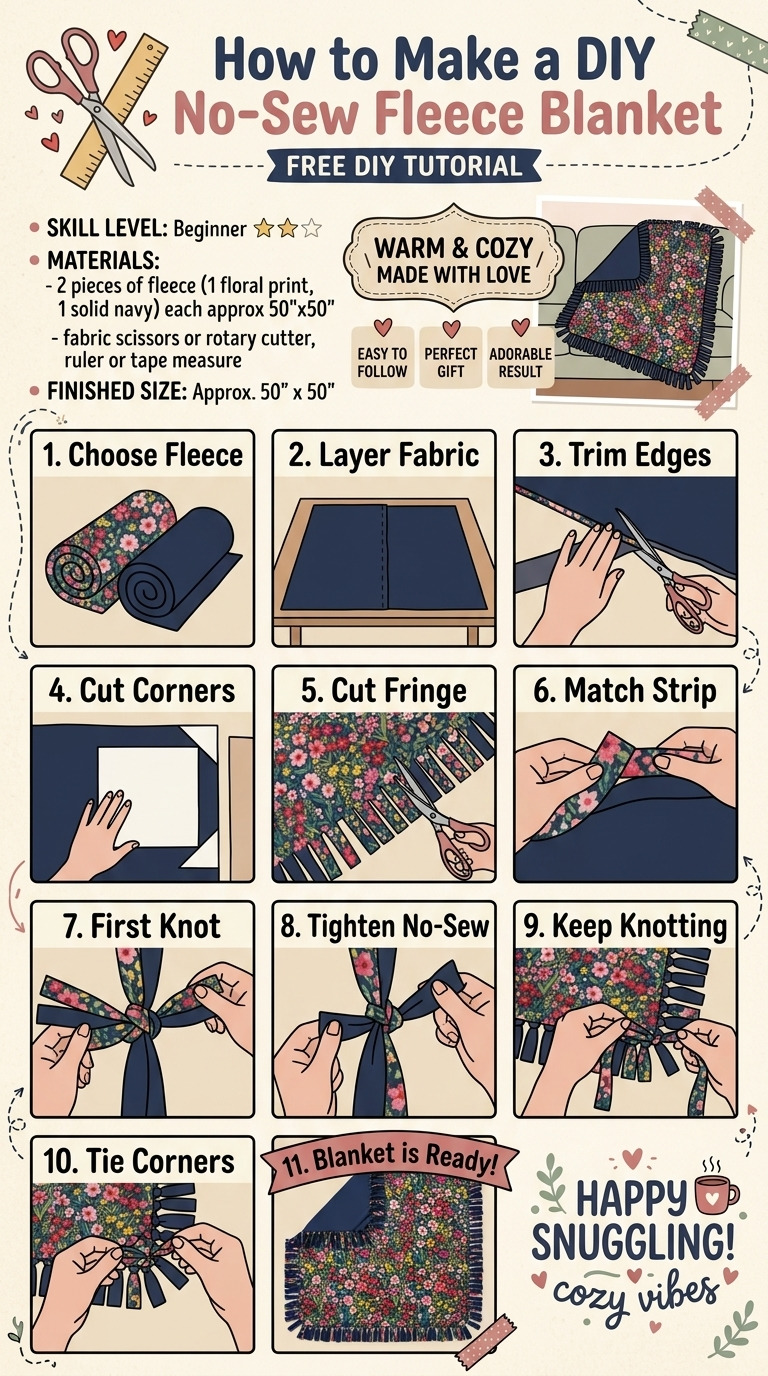
Step 1: Lay Out the Fleece Pieces
Begin by spreading out your solid-colored fleece piece on a flat surface, right side up. Make sure it’s wrinkle-free so your cuts are clean.
Step 2: Cut the Fringe
Next, grab your scissors and ruler. You’ll want to cut fringe strips along each side of the fleece. Here’s how to do it:
- For the long sides (60 inches), measure 4 inches from the edge and cut into the fleece, going 2 inches deep. Create two strips on each long side, which totals 4 strips.
- For the short sides (50 inches), do the same! Cut 4 strips (two from each side).
- After all cuts, you should have a total of 16 fringe strips (4 from each side).
Tip: Make sure your scissors are sharp! Dull ones can cause jagged cuts that look messy.
Step 3: Repeat for Second Fleece Piece
Take your second piece of fleece—the patterned one—and repeat the fringe cutting process exactly as you did with the first piece.
Step 4: Layer the Fleece
Now that both pieces are ready, place the patterned fleece on top of the solid one. Line them up carefully—make sure all the edges match nicely so it looks great once you're done.
Step 5: Tie the Fringe
Starting from one corner, grab one fringe strip from the top piece and one from the bottom piece. Tie them together in a double knot.
- Make sure your knot is secure; this is what holds the blanket together!
- Repeat this knot-tying process along all four edges until you've tied all the strips together. That means you should have tied a total of 16 knots.
Step 6: Finishing Touches
Once you've finished tying, go through all your knots to ensure they’re tight. Adjust any that might look loose, and don’t hesitate to trim any uneven fringe strips for a clean look.
Common Mistakes to Avoid
- Cutting Too Deep: Don’t cut the fringe strips too deeply. If they exceed the 2-inch depth, you risk weakening the structure of the blanket.
- Uneven Cuts: Be careful to cut each strip evenly. If they're uneven, your blanket won’t look its best.
- Loose Knots: Make sure you tie each knot securely. Loose knots can unravel and leave you with a wonky blanket. If a knot comes undone, just knot it again!
Make It Your Own: Variations and Ideas
- Color Combinations: Mix things up! You can choose any color combinations for the fleece—think pastels for spring, warm tones for fall, or even holiday prints for seasonal décor.
- Different Sizes: Need a smaller blanket? Just cut your fleece pieces to your desired size; a child’s version would be adorable!
- Melting Edges: As an alternative to knots, consider using a fabric adhesive to hold the two layers together, though the knots are super cute.
- Gift Idea: Make one as a thoughtful gift. Add a personal touch by picking fabrics that suit the recipient's style!
Now it’s time to put your own stamp on this project! I can’t wait to see what you create.
Before You Go
- Pin this for the next rainy afternoon: Whether you want to remember these measurements or the tying step, be sure to save this post on Pinterest so you can come back when you’re ready to make your cozy fleece blanket.
- Come back and tell me how it went: I’d love to hear about your experience! Every question is welcome, and I want to know if you hit any snags—those stories are just as valuable as the successes!
- Show off what you made: When you finish, share a picture of your blanket! It's always fun to see how everyone puts their own twist on projects.
Happy crafting, and stay warm!