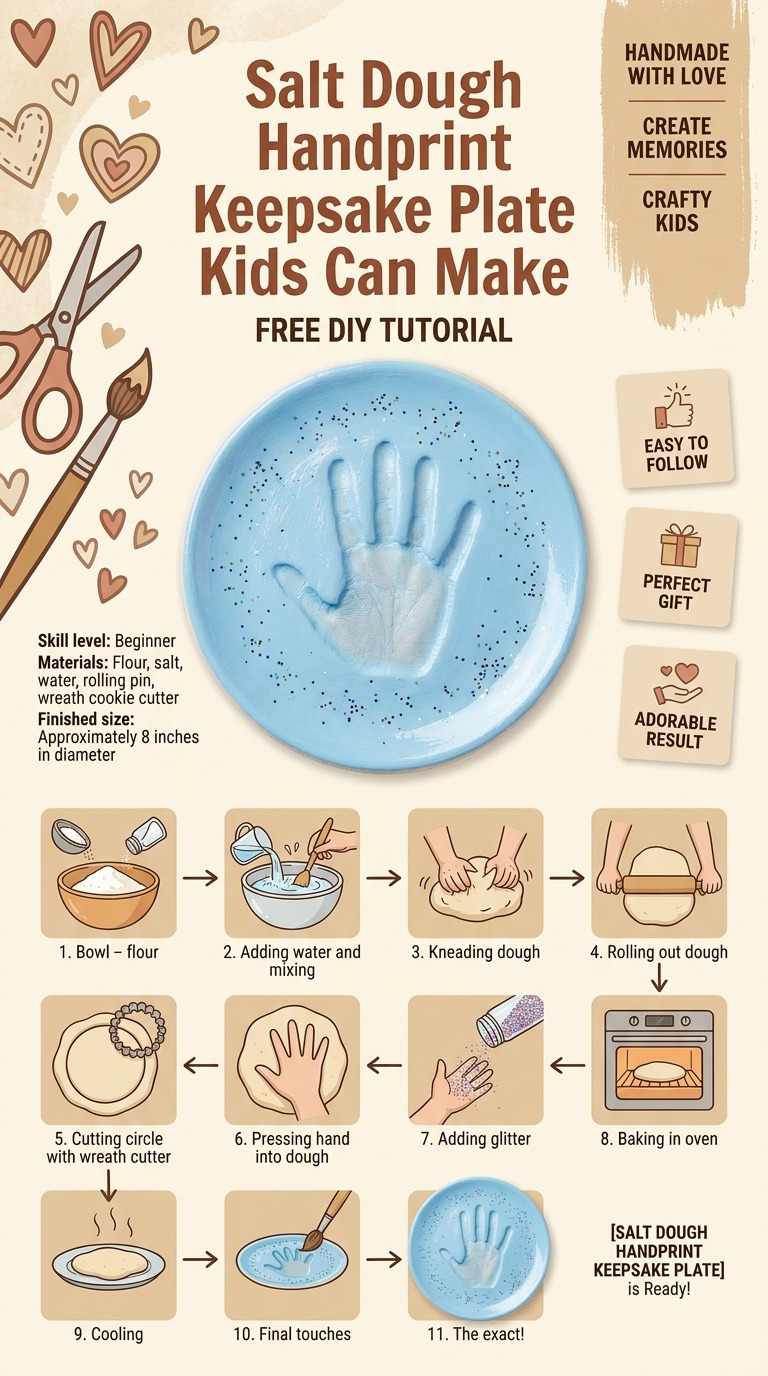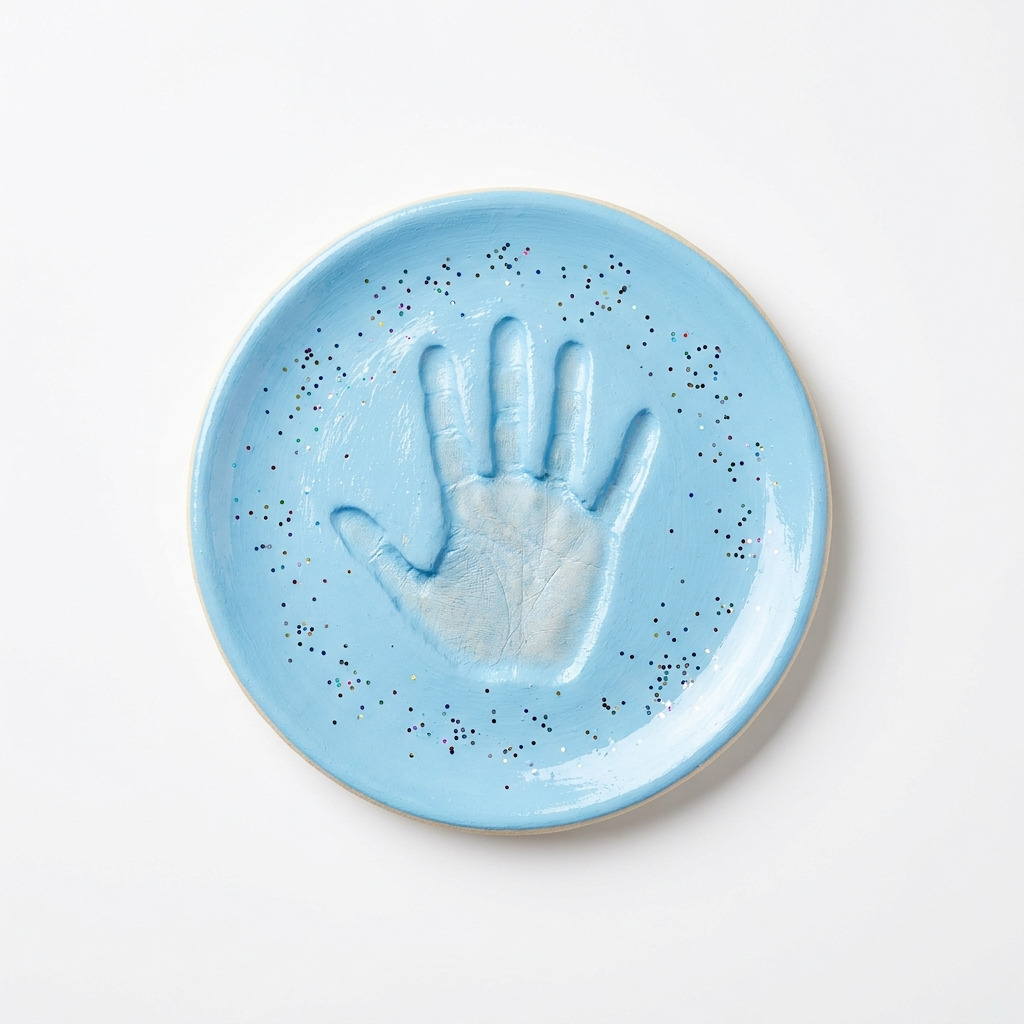
You know those moments when your little one is growing up way too fast? I wanted a way to capture the memory of my son's tiny handprints while he still had those chubby fingers. That’s when I came across the idea of making salt dough handprint keepsake plates. They’re so sweet and can be displayed proudly in our home or given as heartfelt gifts to family members. Plus, it’s a simple DIY project the kids can help with, turning it into a fun day of crafting together!
This project is super easy, and I promise you’ll have a lovely finished plate that showcases your child’s handprint. I’ll walk you through every single step, so you’ll feel confident and ready to make your own!
[Descriptive Image Caption of the Finished Project]
What You'll Need
Materials:
- Salt Dough Ingredients:
- 2 cups all-purpose flour (white) — This forms the main structure of the dough.
- 1 cup salt (fine or coarse) — Helps dry out the dough.
- 1 cup water — Binds the mixture together.
- Optional: 1 tablespoon vegetable oil — Adds smoothness to the dough.
- Paint & Seal:
- Acrylic paint in assorted colors — Choose your favorites for a base coat and decorations.
- Clear acrylic sealer spray (non-toxic) — Protects the plate once it’s painted.
- Additional Decorations (optional):
- Glitter — Adds a bit of sparkle.
- Stamps or stencils — For fun designs.
- Markers — Great for writing names or dates.
Tools:
- Basic Tools:
- Mixing bowl — For combining the ingredients.
- Measuring cups — Accurate measurement is key for the dough.
- Rolling pin (12 inches) — To roll out the dough evenly.
- Baking sheet (or cookie sheet) — For drying the plates in the oven.
- Parchment paper — Keeps the plate from sticking to the baking sheet.
- Plastic knife or dough cutter — To shape the plate.
- Paintbrush (1 inch wide for base coat, finer brush for details) — Essential for painting.
- Safety Equipment:
- An apron — Protects clothes from paint and dough.
- Adult supervision — Especially for small kids when using a knife and paint.
How to Make It, Step by Step
Step 1: Make the Salt Dough
- In a mixing bowl, combine 2 cups of all-purpose flour and 1 cup of salt. Mix them together until they're blended.
- Gradually add 1 cup of water and 1 tablespoon of vegetable oil (if using). Stir with a spoon until it starts to come together, then knead the dough with your hands for about 5-10 minutes. You want it to be smooth and pliable.
- If your dough is sticky, don't fret! Just add a little extra flour — about 1 tablespoon at a time — until it reaches a nice consistency.
Step 2: Shape the Plate
- Roll the dough into a ball about the size of a tennis ball.
- On a lightly floured surface, use your rolling pin to flatten the dough to a thickness of 1/4 inch. You don’t want it too thick or it will take longer to bake.
- Using a plastic knife or dough cutter, cut the edges into a circular shape, aiming for about 8-10 inches in diameter.
- Create a shallow indentation in the center of the dough. This is where the child will place their hand.
Step 3: Create the Handprint
- Have your little one place their hand (palm down) in the center of the dough. Press down firmly to make a clear impression.
- Carefully lift their hand straight up to reveal the handprint. It should look beautiful!
Step 4: Baking the Plate
- Place the shaped dough onto a parchment-lined baking sheet. This helps prevent sticking!
- Pop it in the preheated oven at 200°F (93°C) for 2-3 hours. Keep an eye on it, checking after 2 hours to ensure it doesn’t over-bake. I’ve had a little mishap with that before!
- Once it’s hard and dry, let the plate cool completely on a wire rack for at least 30 minutes. Patience is key here!
Step 5: Painting and Sealing
- After cooling, grab your 1-inch paintbrush and give the plate a base coat with acrylic paint. Let it dry for about 1 hour.
- Get creative! Use smaller paintbrushes for decorating around the handprint. Consider adding your child’s name, the date, or cute designs. Allow this drying time again for another hour.
- Finally, once everything is dry, lightly spray a clear acrylic sealer over the painted plate according to the instructions on the can. Wait for 1 hour for it to dry.
Common Mistakes to Avoid
- Skipping the Kneading Step. If you don’t knead the dough well, it can end up crumbly and not hold its shape. You want it smooth!
- Overworking the Dough. If you knead it too much, it can become tough. Just knead until it’s pliable and then stop.
- Rushing the Baking Time. Make sure it’s completely dry and hard before taking it out of the oven. If it’s still soft, it will crack.
- Using Regular Craft Glue for Sealing. I tried that once, and it just peeled right off. Always go for a clear acrylic sealer.
- Not Allowing Enough Dry Time. Trust me, you really need to let the paint and sealer cure fully to avoid smudges or peeling later.
Make It Your Own: Variations and Ideas
- Color Choices: Use fun or seasonal colors in your paints. Pastels for spring or deep reds and greens for Christmas can make a lovely gift!
- Textured Effects: Instead of painting, consider using markers to create one-of-a-kind patterns and textures all over.
- Add Personal Touches: Incorporate the date, your child’s name, or even a little message on the plate.
- Decorative Additions: Use glitter or decorative stones to create a sparkling edge around the plate.
- Make Smaller Versions: Try making mini handprint plates as gifts for family members. Kids love creating versions for grandparents!
- Functional Use: While they're crafted to be keepsakes, you can use them as trinket trays for small items.
You have the creativity to make this project reflect your child’s personality and style! Have fun with it!
Before You Go
Pin this for the next rainy afternoon: Be sure to save or pin this project to your Pinterest so you can easily find it when you’re ready to make your own salt dough handprint keepsake plate!
Come back and tell me how it went: I’d love to hear how your project turned out! Feel free to ask any questions, no matter how small. Remember, even if things don’t go quite as planned, that can turn into a fun story!
Show off what you made: I hope you share your creations! It really warms my heart to see what others have done. Enjoy making your keepsake plates!