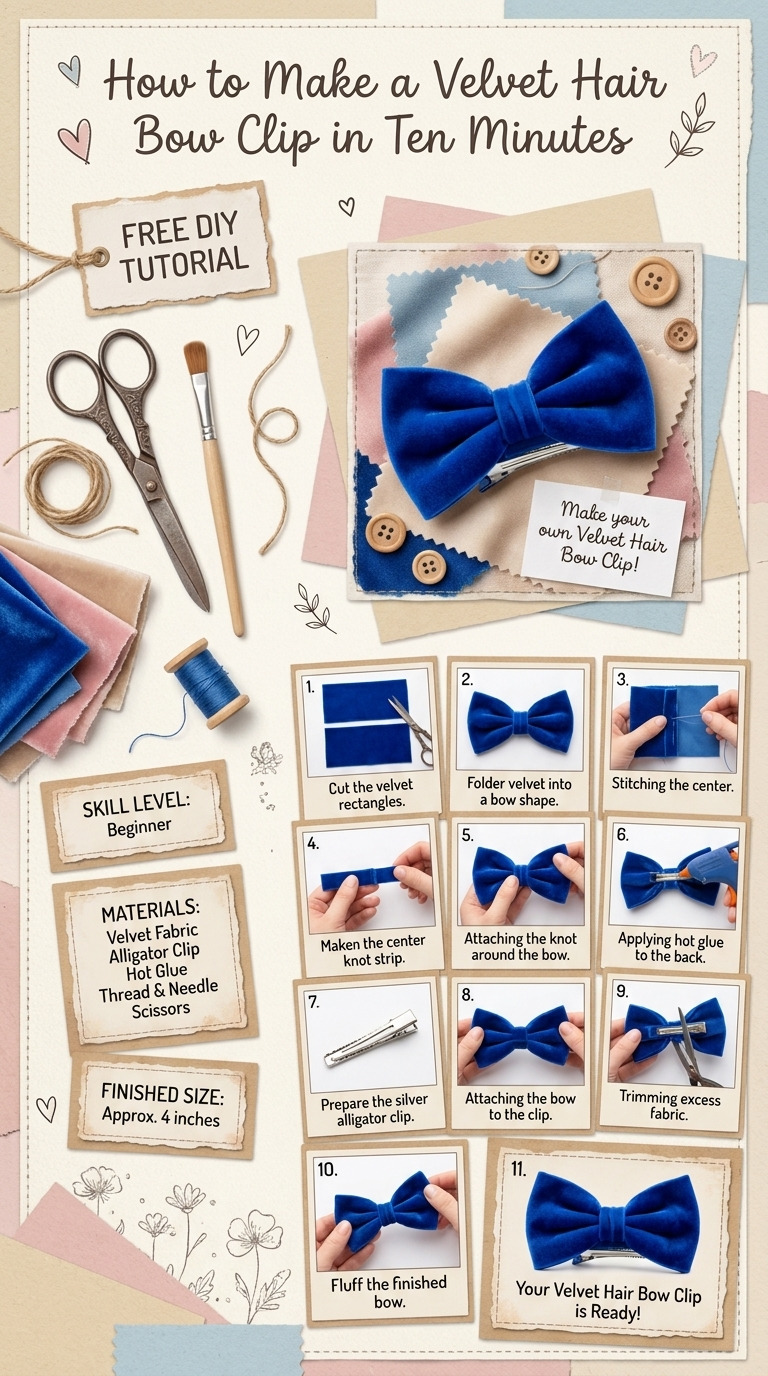
I can still remember the first time I saw a cute velvet hair bow clip. It just added that perfect touch to an outfit. But the prices always made me cringe a little. So, one winter afternoon, I decided I could make my own and add my personal touch! This project turned out to be a fun and satisfying way to bring a bit of flair to my hair without breaking the bank. The best part is that it’s super simple and takes just a few minutes. So grab your materials, and let’s dive in!
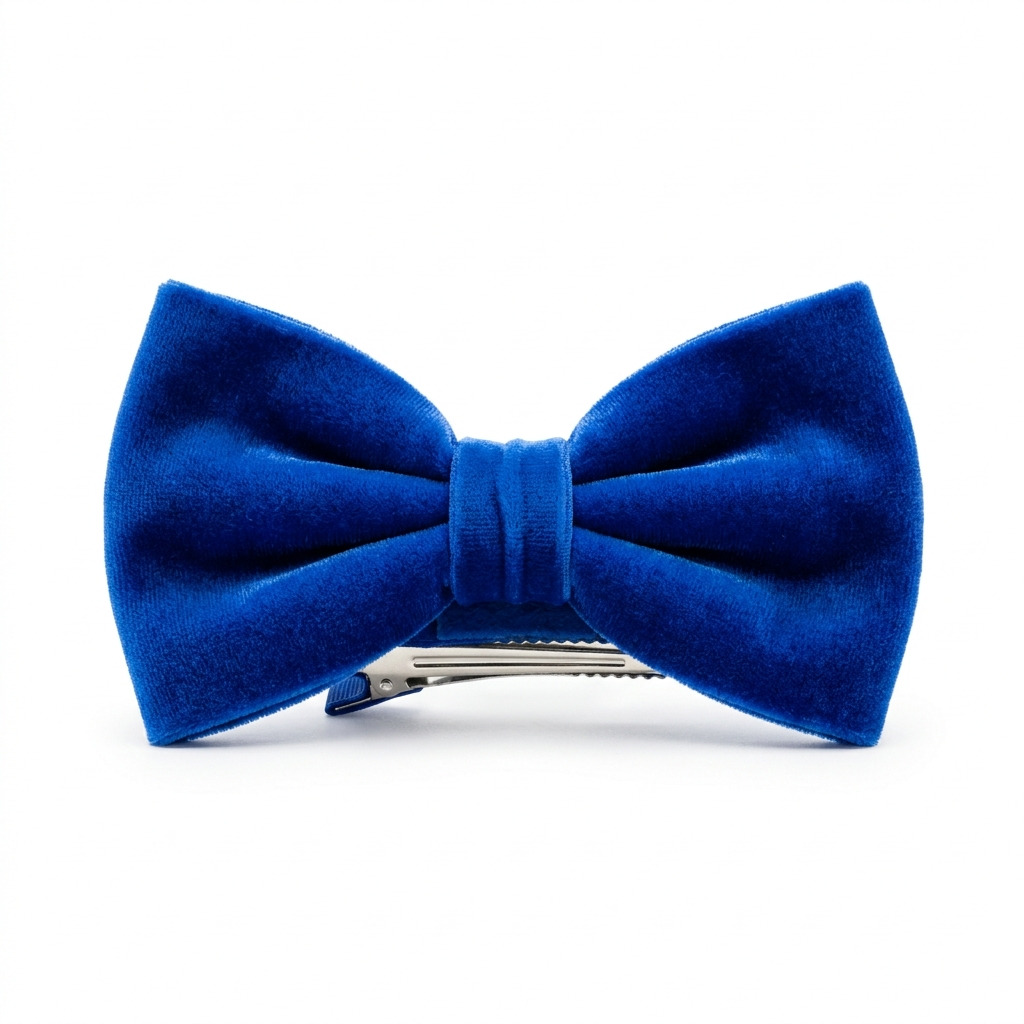
This lovely velvet hair bow clip is approximately 6 inches wide and 3 inches tall. It’s great for dressing up any hairstyle, whether you’re heading out for brunch or just running errands. I keep a couple in different colors on hand to match my outfits!
[Descriptive image caption of the finished project]
What You’ll Need
Materials:
- Velvet fabric: 1/4 yard, in your choice of color (like royal blue, emerald green, or blush pink is perfect for that luxurious look).
- Hair clip: 1 large alligator clip, about 3 inches long (look for an alligator clip that feels sturdy for secure wearing).
- Thread: 1 spool of matching polyester thread (choose a color that matches the velvet for a seamless finish).
- Fabric glue: 1 bottle, preferably permanent (this is optional but helps secure your pieces together).
- Felt: 1 small square (about 4 inches x 4 inches) for backing (this is also optional; it adds stability to the clip).
- Scissors: 1 pair, sharp (these will help you cut the fabric neatly).
- Measuring tape: 1 for accurate measurements (a regular tape measure works just fine).
Tools:
- Sewing machine: One that can sew with a regular presser foot (if you don't have one, you can always hand sew).
- Pins: About 10 for securing the fabric (these come in handy while you sew).
- Iron: For smoothing out the fabric (getting rid of wrinkles helps in the sewing process).
- Cutting mat: For a safe cutting surface (if you don’t have one, a clean, flat surface will do).
- Ruler: For precise measurements (a simple ruler will help you cut accurately).
How to Make It, Step by Step
Step 1: Create a Clean Workspace
Make sure to have a clean, flat workspace on your cutting mat. This will help keep your fabric in place. It’s easier to work without distractions!
Step 2: Iron the Velvet
Give the velvet fabric a quick iron to remove any wrinkles. This will help your bow look sharp and professional. Just be gentle; velvet can be delicate!
Step 3: Cut the Fabric
Cut the velvet fabric into the following pieces:
- Bow: 2 rectangles, each 6 inches wide x 10 inches long.
- Center knot: 1 rectangle, 1 inch wide x 4 inches long.
- Optional: If you’re using felt for backing, cut a small square that’s about 1 inch x 1 inch.
Step 4: Make the Bow
Take one of the velvet rectangles (6 inches x 10 inches) and fold it in half lengthwise, ensuring the right sides are together. Use pins to secure along the long edge and one short edge, leaving the other short edge open for turning.
Step 5: Sew the Bow
Using your sewing machine, sew along the pinned edges with a 1/4 inch seam allowance. Make sure to leave the short edge open! After sewing, trim the corners to reduce any bulk.
Step 6: Turn the Bow
Now, turn the fabric right side out through the open edge. You might need to use a pencil or similar object to gently push out the corners so they look sharp.
Step 7: Press the Bow
Press the bow with your iron to flatten it and give that nice professional finish. This step is key for a polished look!
Step 8: Repeat for the Second Bow Piece
Repeat steps 4 to 7 for the second velvet rectangle. You want both bow pieces to match in shape and size.
Step 9: Create the Center Knot
Take that smaller rectangle (1 inch x 4 inches) and fold it in half lengthwise. Sew along the edge, leaving one short end open, then turn it right side out and press it.
Step 10: Assemble the Bow
Stack the two larger bow pieces on top of each other, aligning the open edges. Pin them together in the center to keep them from shifting.
Step 11: Wrap the Center Knot
Take the smaller knot piece and wrap it around the center of the stacked bows. Pin it into place. This step really pulls the look together, giving it a finished appearance!
Step 12: Sew Everything Together
Using either your sewing machine or hand sewing, sew through all layers at the center to secure them. Make sure to sew tightly and well to prevent anything from coming loose.
Step 13: Attach to Hair Clip
If you want added stability, apply a dab of fabric glue onto the center backside of the bow or on the felt square. Then attach the bow to the alligator clip. If you’re using felt, glue it to the back of the clip first before gluing the bow on top. If you used glue, let everything dry for about 5 minutes.
Final Thoughts
Make sure all your sewing is secure. You can optionally heat seal the edges of the velvet to prevent fraying if that’s a concern for you. Adjust the bow shape to ensure it looks symmetrical and puffy — this is the part that gives it character!
Common Mistakes to Avoid
- Rushing the sewing. If you rush through the sewing, your stitches may be loose, and the bow could fall apart. Take your time and check your work.
- Not pressing the fabric. Skipping the ironing step can lead to a crinkled bow that looks messy. Always press the fabric before sewing!
- Leaving threads long when trimming. If you don’t trim your threads close enough, they could unravel. Snip them closely but be careful not to cut into your stitches.
- Forgetting to glue. If you skip the glue step, the bow may wobble on the clip over time. A little glue adds extra security.
Make It Your Own: Variations and Ideas
- Color Variations: Why not experiment with different velvet colors or even patterns? You could make bows to match every outfit you have!
- Larger Clips: You can also use larger or smaller clips. Just adjust the bow size accordingly for a different look.
- Embellishments: Add tiny decorative elements, like beads or rhinestones, for extra pizazz. It gives your bow a unique personality.
- Seasonal versions: Create bows in seasonal colors to keep things festive.
I hope you enjoy making your own velvet hair bow clip! It’s a fun and easy project, and you can always tweak it to reflect your unique style.
Before You Go
Pin this for the next rainy afternoon: Save this project for when you're ready to make your stylish velvet hair bow clip. You’ll want the steps handy, especially for gluing and securing the fabric! Come back and tell me how it went: I’m here for any questions you have, big or small! And if your project went sideways, I’d love to hear about it too. Show off what you made: I can’t wait to see your beautiful bows!