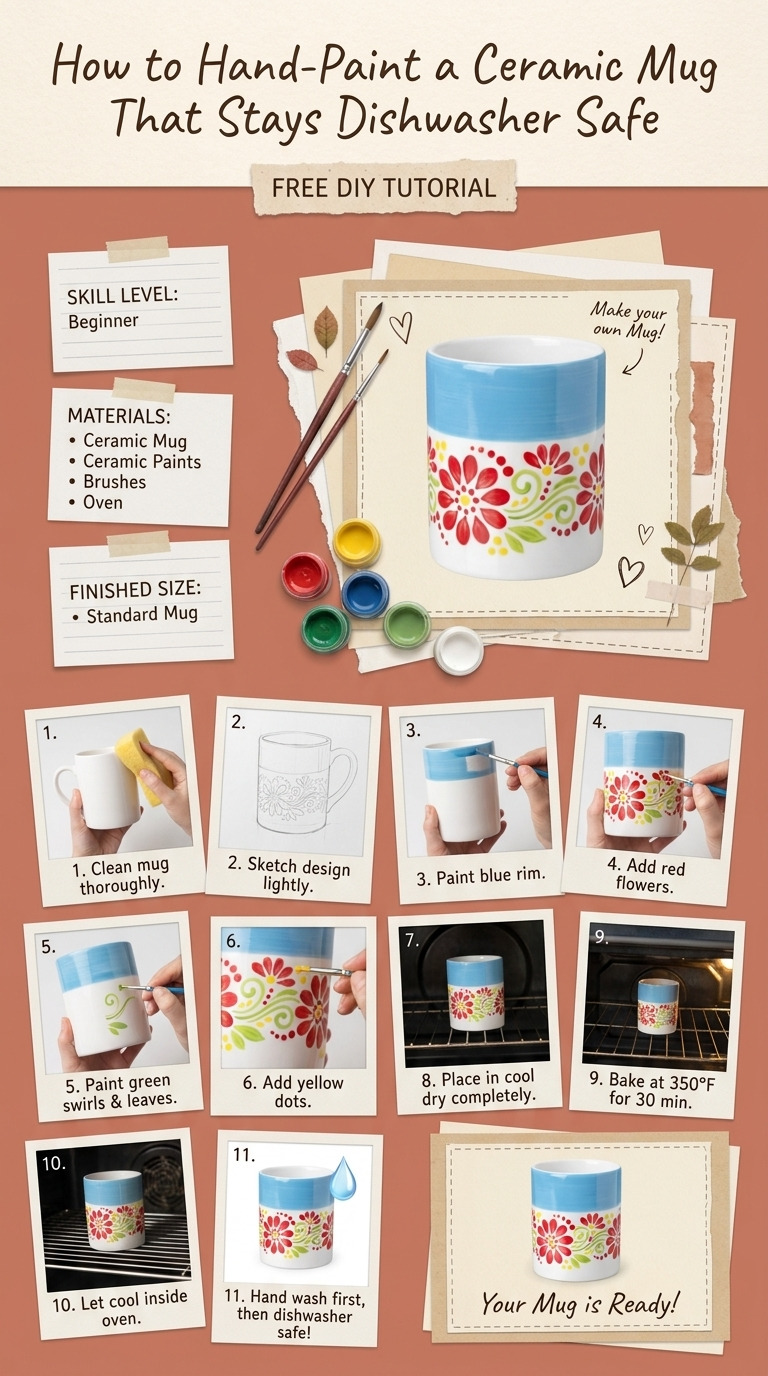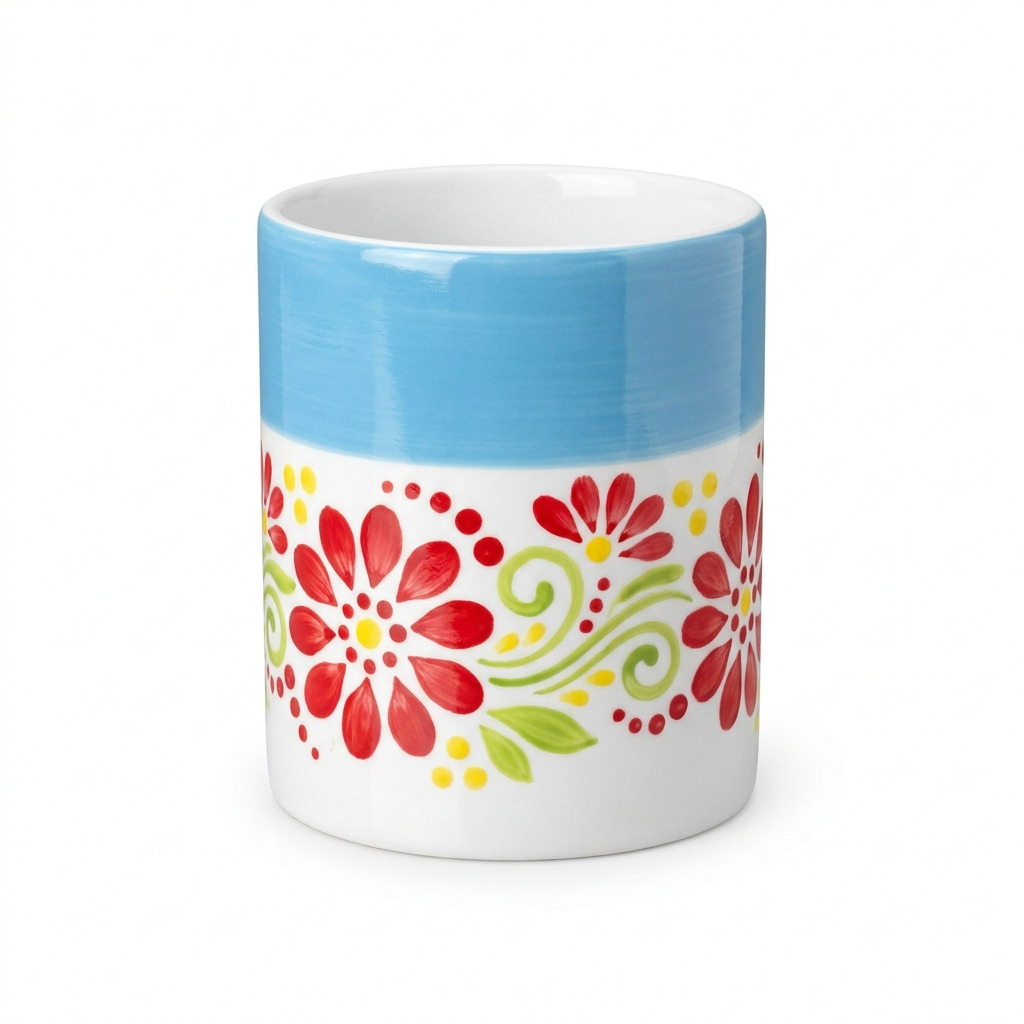
When I first discovered how easy it is to hand-paint a ceramic mug, I was overflowing with ideas! I had seen some beautifully painted mugs online and thought, “Why not try this myself?” Plus, I love making gifts that are personal and unique. It started as a way to use up a few ceramic mugs I had on hand, thinking they would make great presents for friends. The best part? You can make your mug beautifully colorful and functional, ensuring it can withstand the dishwasher.
So, over the past winter, I painted a few mugs featuring vibrant colors and fun designs. I loved how they turned out, and I keep one of my favorites at my front desk as my go-to coffee mug. It’s easy, fun, and I promise you can do it too! In this guide, I’ll walk you through how to create your own dishwasher-safe painted ceramic mug step by step.
[Descriptive image caption of the finished project]
What You'll Need
Materials:
- Ceramic Mug: 1 piece, white (standard 12 oz size). I find that a simple white mug gives the best background for colors to pop.
- Porcelain Paint: 4 colors (like Pebeo Porcelain 150 or FolkArt Enamel). I recommend colors like sky blue, sunshine yellow, lime green, and cherry red for a fun palette.
- Paintbrushes: 2 pieces; one round detail brush (size 00) for intricate designs and one flat brush (1 inch) for larger areas.
- Palette: 1 piece (this can be any flat surface or even a disposable plate).
- Painter’s Tape: 1 roll, perfect for masking off areas you want to keep paint-free.
- Clear Dishwasher-Safe Sealer: Spray version; you can use brands like Krylon Clear or Rust-Oleum for protecting your paint job.
Tools:
- Workspace Setup: Set up a flat, well-lit surface that gives you enough room to really enjoy painting.
- Safety Equipment: Use gloves to protect your skin and a mask if you’re sensitive to spray fumes.
- Water Cup: 1, for rinsing your brushes between colors.
- Paper Towels: Essential for cleaning brushes and any accidental spills.
How to Make It, Step by Step
Step 1: Prepare Your Workspace
Start by covering your work surface with a plastic drop cloth or layers of old newspaper. This will protect your table or countertop from paint spills. Trust me, it's easier to clean up afterward.
Step 2: Clean the Mug
Give your ceramic mug a good wash with soap and water. Make sure to rinse it thoroughly and dry it with a clean towel. Any oils or dust left on the mug can affect the paint's adhesion.
Step 3: Apply Painter’s Tape
Use painter's tape to mask off any sections of the mug where you want to avoid paint. Stick the tape down firmly to ensure there are no gaps. This helps create clean lines in your design.
Step 4: Prepare Your Paint
Squeeze small amounts of each paint color onto your palette—about the size of a dime for each color is perfect. You don’t want to waste paint, and this is just enough to start.
Step 5: Paint Base Colors
Now for the fun part! Dip your flat brush into your first color, perhaps starting with sky blue. Using even strokes, apply this base color onto the desired sections of the mug. Aim for smooth, even coverage without leaving brush marks.
- Tip: If you lightly wet the brush before dipping it in the paint, it can help the paint spread more smoothly.
Step 6: Create Designs
After about 30 minutes, once the base layer is dry, pick up your detail brush for the fun designs! You might want to add cherry red flowers or cheerful dots in sunshine yellow. Let this layer dry for another 30 minutes.
Step 7: Remove Painter’s Tape
Once everything is dry, slowly and carefully peel off the painter's tape. Do this gently to avoid unintentionally smudging your beautiful work.
Step 8: Heat-Set the Mug
Now, let's set that paint! Preheat your oven to 300°F (150°C). Place your mug upside down on a baking sheet lined with parchment paper. Bake it for 30 minutes. Then, turn the oven off and let the mug cool completely inside it, which should take about an hour.
Step 9: Sealing the Paint
After your mug has cooled, it's time to make it dishwasher safe! Spray a thin, even coat of clear dishwasher-safe sealer over the entire surface of your mug. Just follow the instructions on the sealer for the best results.
- Safety Tip: Be sure to spray in a well-ventilated area, wearing gloves and a mask if you're sensitive to fumes. Allow it to dry for 24 hours for the best protection.
Common Mistakes to Avoid
- Rushing the glue. If you don't let the paint dry long enough before applying the sealer, it can smear or lift off during sealing. Always wait at least 30 minutes between design layers and 1 hour before baking.
- Using the wrong paint. Not all paints are dishwasher safe. Ensure you check for porcelain or enamel paint specifically labeled for this purpose.
- Applying too much paint at once. When you overload your brush, the paint can run or drip. It’s better to apply multiple thin layers than one thick one.
- Removing tape too soon. If you pull the tape off before the paint is fully dry, you could risk smudging your design. Patience is key here!
Make It Your Own: Variations and Ideas
- Color Choices: Feel free to experiment with different color palettes! Pastels give a softer look, while bold colors make a strong statement.
- Pattern Play: Instead of simple shapes, try patterns like chevrons or polka dots for added texture and interest.
- Seasonal Themes: Make holiday-specific mugs! Think of snowflakes for winter or flowers for spring.
- Size Variations: You can paint larger mugs or even smaller ones if you want a collection. Imagine a matching set!
- Personal Touch: Add a name or a thoughtful quote to make it an even more special gift.
Remember, the beauty of DIY is in the experience and making something that reflects you. Try different patterns and colors, and don’t hesitate to mix it up!
Before You Go
Pin this for the next rainy afternoon: If you love the idea of creating beautiful, personalized mugs, consider saving this project so you can revisit the steps, measurements, and tips later.
Come back and tell me how it went: Don't hesitate to share your experiences or ask questions about steps that might be unclear. No question is too basic, and I’d love to hear about any creative twists you added to your mugs!
Show off what you made: I can’t wait to see your fabulous creations! Share your painted mugs and inspire others to give it a try. Happy crafting!