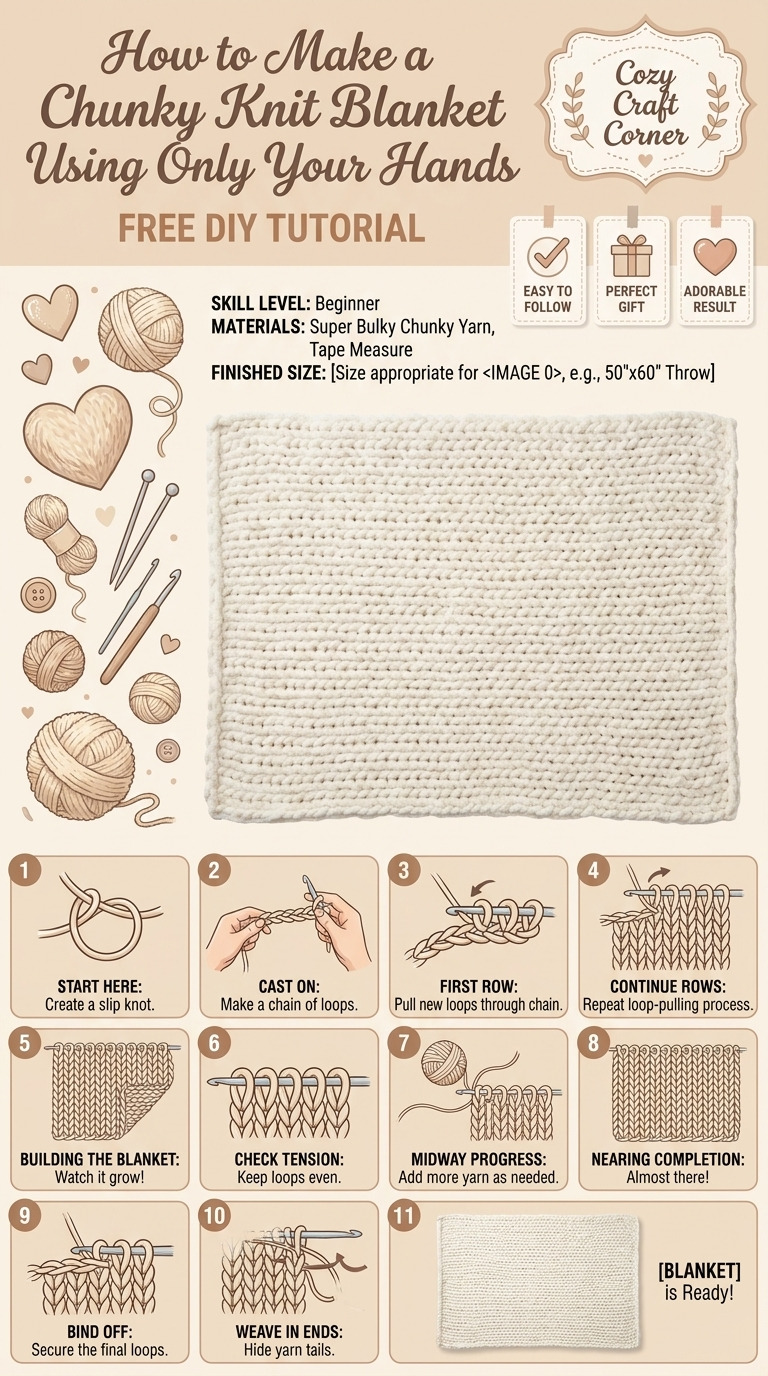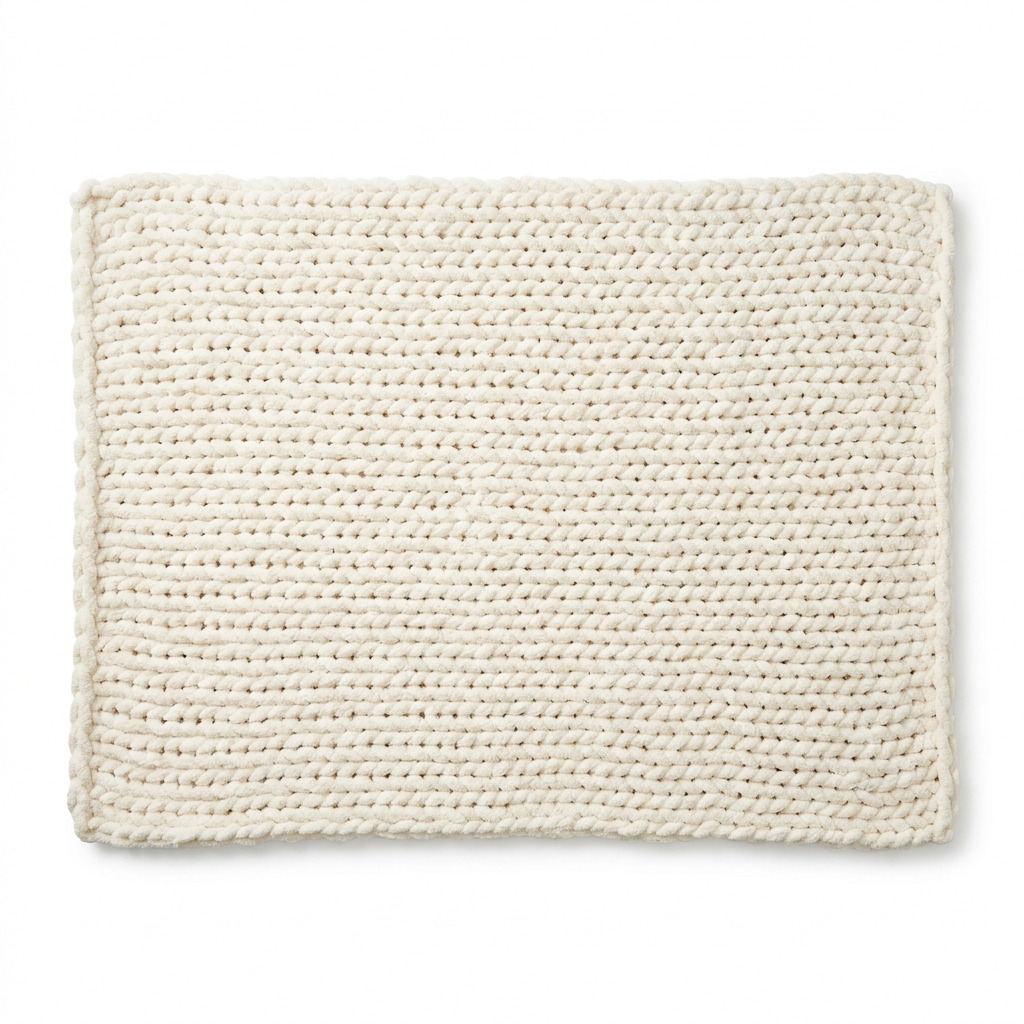
There’s just something about a cozy, chunky knit blanket that makes any space feel warm and inviting, don’t you think? I first got hooked on making these blankets when I saw one at a friend’s house, and it was so luxurious and plush that I couldn’t help but run my fingers through it. But let’s be honest—buying one could break the bank! So, I decided to figure out how to make one myself, using just my hands. Yes, you read that right—no knitting needles required!
Now, I’ve made several of these blankets, and I keep one draped across my sofa and another at the end of my bed. They’re not just for staying warm; they also serve as beautiful decor accents that add a touch of comfort to any room. And let me assure you—this project is so easy, you’ll be amazed at how quickly you can whip one up. Stick with me, and I’ll walk you through every single step.
[Descriptive image caption of the finished project]
What You'll Need
Materials:
- Chunky Yarn: 3 to 5 skeins (each skein is 100 yards) of bulky yarn, preferably acrylic or a wool blend. I love using a lovely cream or soft grey, but go with whatever colors speak to you!
- Scissors: A good, sharp pair will work just fine for cutting yarn.
- Tape Measure: To measure your blanket and ensure it's the right size.
- Large Canvas Bag (optional): This is great for keeping your project safe while working, especially if you need to take a break.
Tools:
- Hands: Yes, that’s right—your hands are your main tools for this project!
- Eye Protection (optional): If you're sensitive to yarn, consider using glasses to keep any stray fibers out of your eyes.
How to Make It, Step by Step
Step 1: Measure the Yarn
Start by measuring out your yarn. If you’re using multiple skeins, lay them out in the order you plan to use them. Measure approximately 10 feet of yarn for your starting stitches, then leave this length attached to the skein. This helps avoid tangles later!
Step 2: Create the Initial Slip Knot
Now it’s time for the fun part! Take your starting length of yarn and form a loop. Pull the long end of the yarn through the loop to create a slip knot. Make sure to pull it tight but leave a tail of about 6 inches. You'll want that tail for later!
Step 3: Cast On Stitches
With the slip knot snugly on your hand, you’ll create your stitches. Wrap the working yarn (the part still attached to the skein) around your wrist or between two fingers. Aim for 25 to 30 stitches across. This will give you a blanket width of about 40 inches. If you want a chunkier look, feel free to add a few more stitches!
Step 4: Begin Knitting the First Row
With all the stitches on your hand, start knitting by pulling the working yarn through the first loop with your other hand. You’re essentially forming a new stitch. Once you do this, slide the old stitch off your hand. Continue this process until you reach the last loop.
Step 5: Knit Additional Rows
Now you’ll repeat the last step for each row. Keep on adding rows until your blanket measures around 60 inches—this is about the length I find most comfortable. Remember, you want to pull your yarn tightly enough that it holds together well, but not so tight that it’s restricted. Keep an eye on your skein of yarn to avoid running out!
Step 6: Binding Off
Pretty soon, your blanket will be taking shape! To finish it off, you need to bind off. Knit two stitches, then pull the first stitch over the second stitch on your hand. Knit another stitch and repeat this process. When you’re down to two stitches left, pull the last stitch through the first, and then cut the yarn, leaving about a 6-inch tail to secure.
Step 7: Secure the Blanket
Gently tug and adjust your blanket until you achieve the desired texture and drape. If there are any loose ends from the yarn, tuck them in by weaving with your fingers along the knit fabric.
Common Mistakes to Avoid
- Rushing the stitches: If you’re trying to hurry, you might accidentally pull a stitch too tight, which can make your blanket uneven. Take your time with each row.
- Not making enough stitches: If your beginning stitches are fewer than 25, your blanket could end up being too narrow and not provide enough warmth.
- Ignoring the yarn gauge: If you notice that your blanket feels stiff, you may be pulling the yarn too tight. Aim for a nice balance of firmness and flexibility.
- Skipping the bind-off step: If you don’t bind off correctly, your blanket can unravel. Make sure you do this step properly to secure your work.
- Not adjusting the yarn tension: Consistency in how tightly you hold the yarn will influence the overall look of your blanket. Practice a bit if you’re unsure!
Make It Your Own: Variations and Ideas
- Change the Size: You can easily adjust the width by adding or removing stitches. Just remember to keep it even for a neat finish!
- Experiment with Colors: Use multiple yarn colors for a fun striped pattern, or mix textures by adding some soft chenille alongside your chunky yarn.
- Seasonal Designs: Create a lighter blanket in pastel shades for spring or festive colors for the holidays!
- Add Embellishments: Consider tying in some decorative yarn fringe or pom-poms for an extra pop of style.
You’re now ready to dive in, so let your creativity shine! Enjoy creating your very own cozy chunk knit blanket.
Before You Go
Pin this for the next rainy afternoon: Save this post so you can return to these easy hand-knitting instructions whenever you’re ready to make your chunky knit blanket! Don’t worry; I’ll be right here if you have questions.
Come back and tell me how it went: I want to hear all about your progress! No question is too basic, and if something didn’t go as planned, that’s totally fine—I’d love to help you figure it out!
Show off what you made: I’d love to see your finished blanket! Take a moment to share your creation with me. And of course, don’t forget to pin this post to keep the instructions handy for your next cozy weekend. Happy crafting!