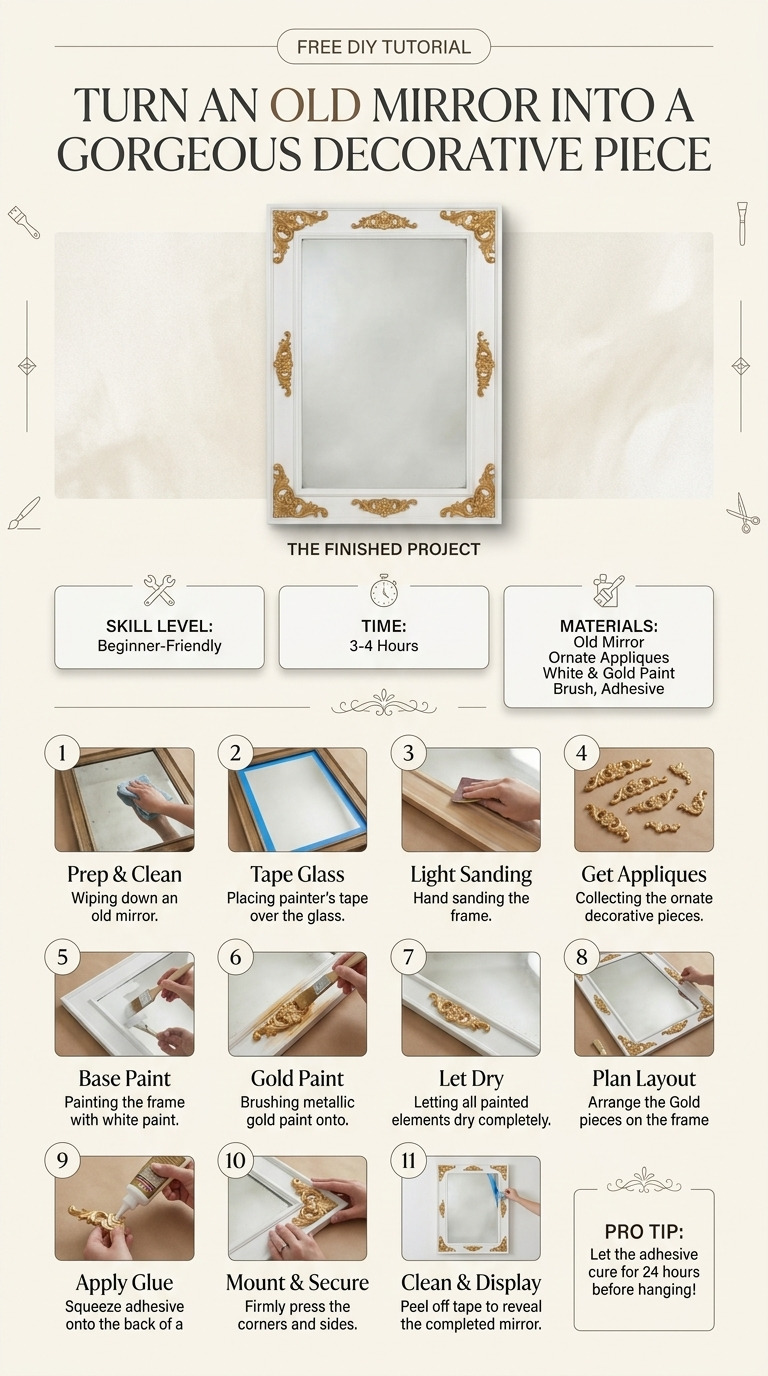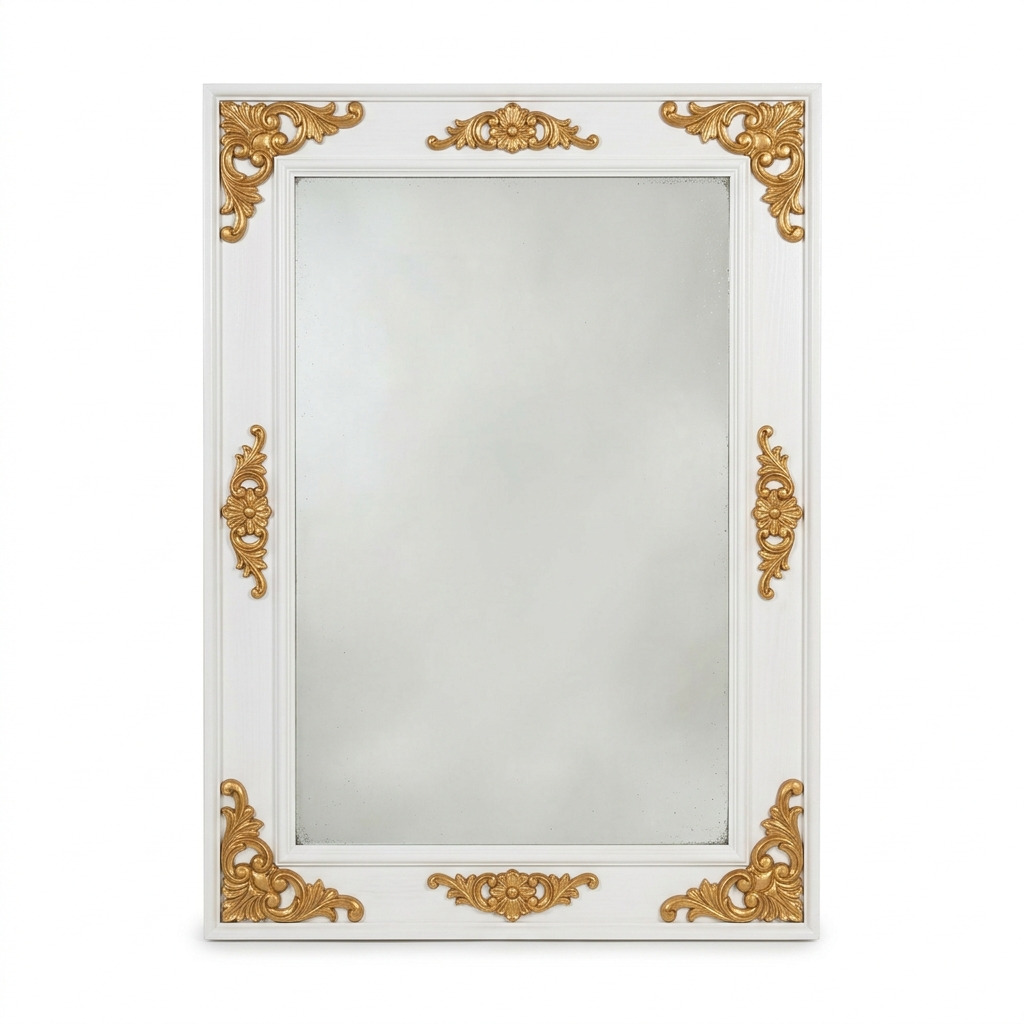
I’ll be honest—my house felt a bit empty without a standout piece in my entryway last winter. I had this old mirror collecting dust, just waiting to be brought back to life. Instead of tossing it out or spending money on a fancy new decor item, I decided to transform it into a gorgeous statement piece! It now hangs elegantly in my hallway, reflecting light and beautifying the space. Plus, it feels so satisfying to create something unique from materials I already had on hand.
This project is simple, and I promise it’s beginner-friendly! I’ll be with you every step of the way to ensure your old mirror gets a fabulous makeover.
[Descriptive image caption of the finished project]
What You'll Need
Materials:
- Mirror: One old mirror, preferably with a plain frame (size: 24 inches x 36 inches)
- Wooden Molding: Four 1"x2" strips and four 1"x3" strips, each 36 inches long
- Wooden Decorative Appliques: Eight pieces of assorted designs (e.g., floral, scroll designs)
- Dowel Rods: One pack (38 inches, for support)
- Sandpaper: 120-grit and 220-grit
- Acrylic Paint: One pint each of matte white and metallic gold
- Clear Polyurethane Sealer: Water-based (one quart)
- Glue: One bottle of wood glue and strong adhesive (like E6000)
- Caulk: Paintable caulk for filling gaps
- Paintbrushes: One 1-inch flat brush and one ½-inch detail brush
- Ruler: 36 inches
- Pencil: For marking
- Masking Tape: One roll (for positioning and holding pieces)
- Optional Materials: Decorative beads, ribbon, or fabric for embellishments
Tools:
- Handsaw or Miter Saw: For cutting the wooden molding
- Hot Glue Gun: For applying decorative appliques
- Drill: With a 1/8 inch drill bit
- Clamps: Four medium-sized for holding pieces together
- Craft Knife: For precision cuts if needed
- Safety Equipment: Gloves and safety goggles
How to Make It, Step by Step
Step 1: Workspace Setup
Clear a large workspace, like a sturdy table, and lay down a drop cloth to protect the surface. This will be your crafting zone, so have everything within reach!
Step 2: Cut Molding
Using your handsaw or miter saw, carefully cut the wooden molding:
- Cut 2 pieces of 1"x3" at 36 inches for the vertical sides.
- Cut 2 pieces of 1"x2" at 24 inches for the horizontal sides.
Make sure your cuts are straight. Measure twice, cut once—trust me; it saves a lot of frustration!
Step 3: Pre-Treatment
Before you assemble the frame, clean the mirror using a glass cleaner. Sand the edges of each wooden piece with 120-grit sandpaper to remove any rough spots. Finish up with 220-grit for smooth edges. You want it to feel nice and safe to touch!
Step 4: Assemble the Frame
Lay the two vertical 1"x3" pieces and the two horizontal 1"x2" pieces out in a rectangle to form the frame around the mirror. Use a pencil to mark where you’ll drill the pilot holes in the corners. Drill the holes and then apply wood glue to the ends of the moldings. Carefully join them together, securing with clamps. Let it dry for 30 minutes—this step is key!
Step 5: Attach Decorative Appliques
While your frame is drying, pick out placements for your wooden decorative appliques. I like to get creative here, so play around! Apply hot glue to the back of each applique and press them onto the frame. Let these sit and set for 10 minutes.
Step 6: Paint the Frame
Once everything is dry and secured, grab your 1-inch paintbrush and apply a coat of matte white paint to the entire frame. It’s better to follow the wood grain direction. After painting, let it dry for at least 1 hour. If you find spots that need a touch-up (and I always do!), lightly sand after the first coat, then apply a second coat if desired.
Step 7: Create a Backing
Now, cut your dowel rods so that you have 2 pieces at 36 inches. Use wood glue to attach these dowel rods horizontally along the back of the frame for extra support. Clamp them in place and allow them to dry for 30 minutes.
Step 8: Secure the Mirror
Flip your frame over and center the mirror on the backing. Use a strong adhesive (E6000) around the edges of the mirror to secure it to the frame. This is where I made my mistake initially—I rushed and didn’t apply enough glue, and my mirror shifted! Allow the adhesive to cure overnight.
Step 9: Finish with Polyurethane Sealer
To protect your beautiful new frame, apply a coat of clear polyurethane sealer using your 1-inch brush. This will keep the paint from chipping and give it a nice sheen. Let it dry for 2–4 hours. If the humidity is high, you might need to allow for a little extra drying time. Consider applying a second coat once it’s dry.
Common Mistakes to Avoid
- Rushing the glue. If you don’t give the glue enough time to set, the frame can come apart. Always allow for a full drying time.
- Not sanding enough. Skipping the sanding process can lead to an uneven surface that might ruin your finished look. Take your time here!
- Overloading on paint. Applying too much paint can lead to drips. It’s better to use thin layers than one thick layer.
- Skipping the pilot holes. This can cause the wood to split when you’re joining pieces. Always drill those pilot holes before inserting screws or nails.
- Ignoring moisture. If your workspace is too humid, it can affect drying times. Make sure you allow adequate time for everything to set properly.
Make It Your Own: Variations and Ideas
- Color it Your Way: Experiment with different paint colors—pastels can give a more whimsical feel!
- Rustic Finish: Use distressed paint techniques to create a vintage look instead of just a flat finish.
- Add Fun Embellishments: Consider adding decorative beads or fabric to further personalize your frame.
- Seasonal Decor: Change up the embellishments throughout the year to match the seasons or holidays.
- Size It Down: If you want a smaller piece, just adjust the measurements and use smaller pieces of molding.
You can truly make this project your own! Let your imagination run wild and have fun with it.
Before You Go
Pin this for the next rainy afternoon: Save this post for the next time you want to give an old mirror a stunning makeover! You’ll want to remember the cutting list and drying times, so it’s handy when you have all your materials ready. Come back and tell me how it went: I’d love to hear how your project turned out! Don’t hesitate to ask any questions—no question is too small. Plus, if yours didn’t quite go as planned, I want to hear that too! Show off what you made: I can't wait to see your beautiful creations! Enjoy crafting and have fun making this decorative piece uniquely yours!