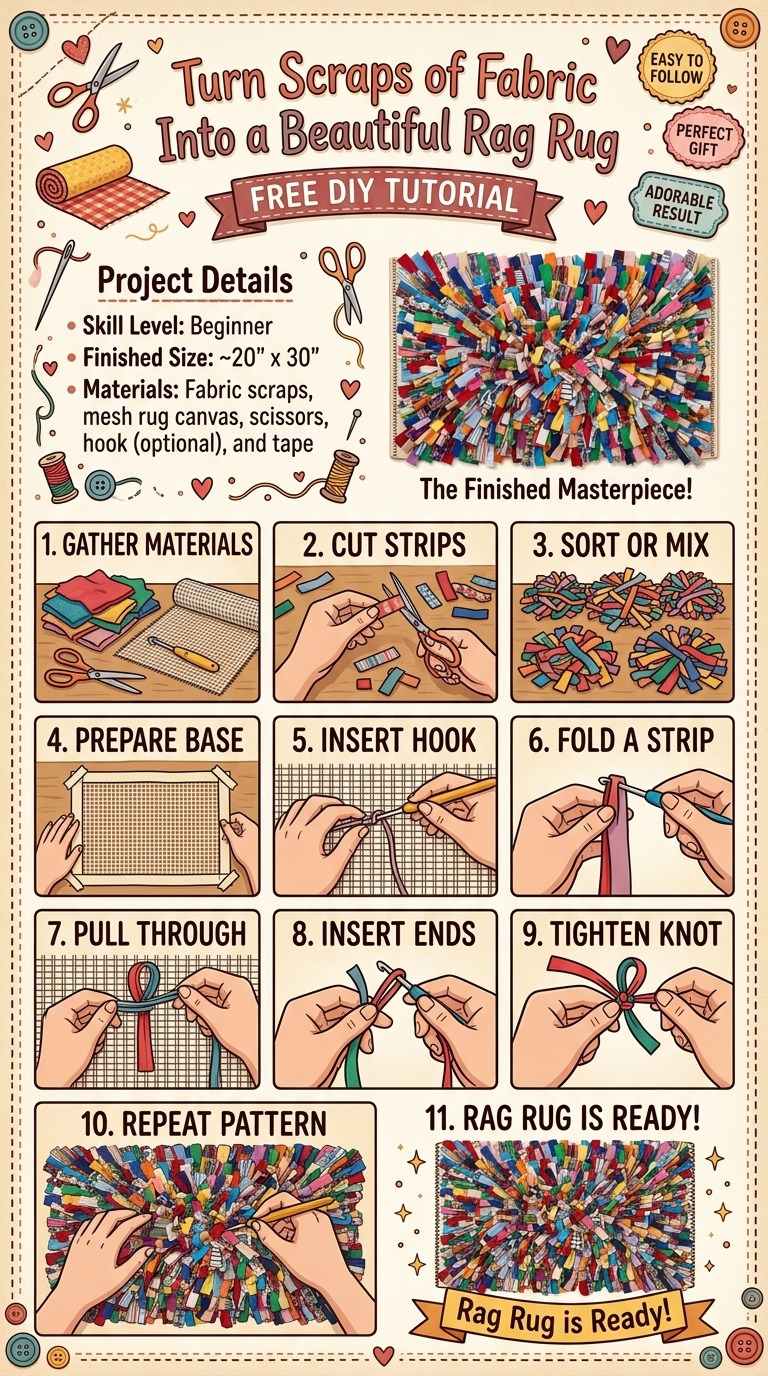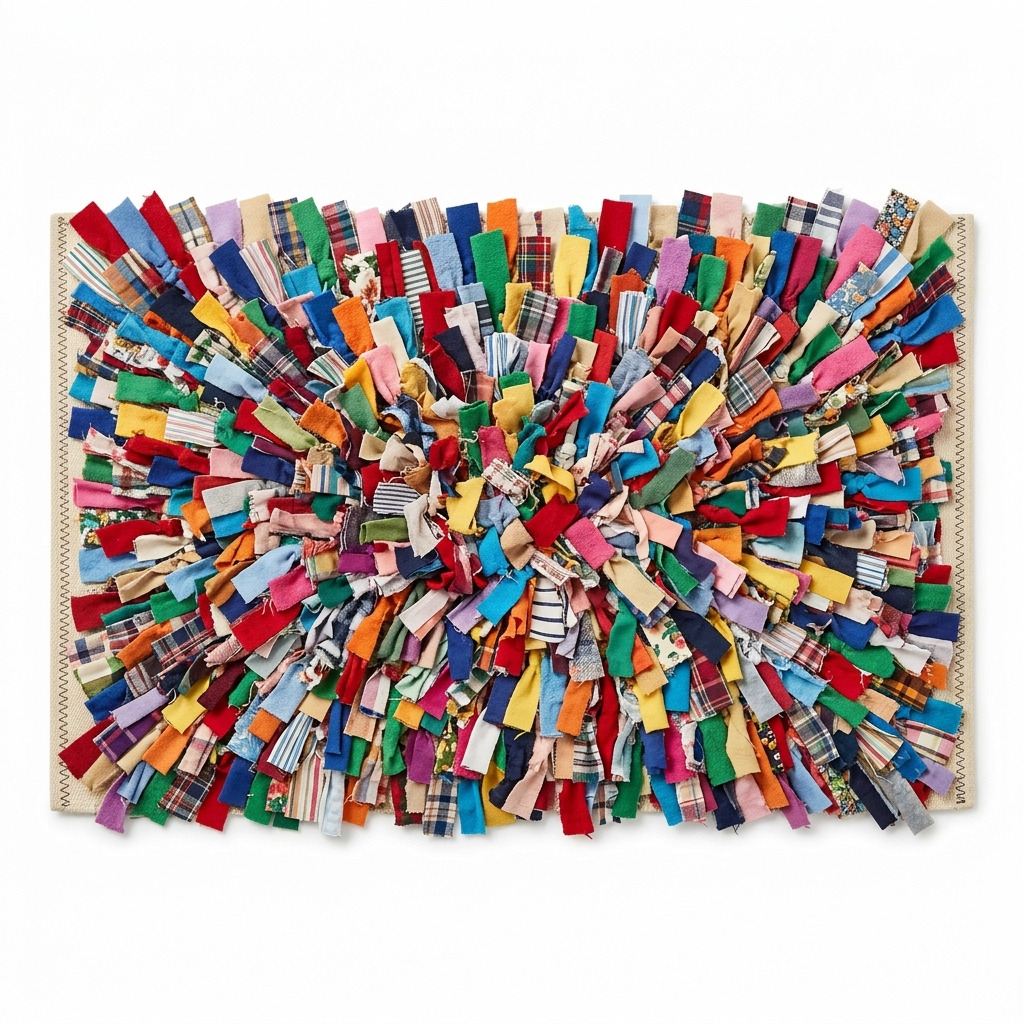
I’ve always had a love for unique home decor and wanted something cozy to place by my front door. The problem? Buying an adorable rug that wouldn’t break the bank felt impossible! That’s when I remembered a pile of colorful fabric scraps I had tucked away from various sewing projects. This inspired me to create my own rag rug — a fun, colorful addition to my home that feels soft underfoot and brings a welcoming touch to the entrance. Not only is this project simple, but it also allows you to get creative with your scraps! I will walk you through every step so you can create a lovely rag rug for your own space.
[Descriptive image caption of the finished project]
What You'll Need
Materials:
- Fabric scraps: 1-2 yards in total of cotton or fleece fabric in assorted colors and patterns (preferably at least 10 different pieces). I love using a variety of prints—this makes the rug vibrant and playful!
- Canvas backing fabric: 1 yard of heavy-duty canvas or burlap in a neutral color. This will be the base that holds everything together.
- Cotton thread: 1 spool of coordinating color (e.g., cream or beige). Choose something that blends well with your fabric scraps.
- Fabric hot glue or fabric adhesive: 1 bottle (optional for securing raw edges). This is handy if you want extra security for your seams.
Tools:
- Fabric scissors: Standard size. These will help you cut your fabric scraps into strips.
- Sewing machine (or hand sewing needle if you prefer to sew by hand). A sewing machine can speed things up, but hand sewing works too!
- Rotary cutter (optional) and cutting mat. If you have a rotary cutter, use it for quick, straight cuts.
- Measuring tape: To ensure everything is the right size.
- Iron: To flatten your fabric scraps before assembly.
- Safety pins or fabric clips: 10 pieces. These will help hold the strips down as you work.
Preparation & Setup
- Workspace Setup: Start by clearing and cleaning your workspace. Lay down a protective covering like a craft mat. This keeps your table safe and makes it easier to clean up any stray bits of fabric.
- Cutting List: Cut your fabric scraps into strips that are approximately 1 inch wide and between 6-10 inches long. A wider range makes for a more textured look.
- Pre-Treatment of Materials: Iron all your fabric scraps to remove any wrinkles. This step is essential because wrinkled materials can shift or curl during the assembly process.
How to Make It, Step by Step
Step 1: Cut Fabric Strips
Using your fabric scissors or rotary cutter, cut your scraps into strips. Aim for about 50-70 strips maximum, varying their lengths between 6 and 10 inches.
Step 2: Prepare Canvas Backing
Next, cut the canvas or burlap fabric to 24 inches by 36 inches. Take your time with this; a neat, even cut will make your rug look much more polished.
Step 3: Plan Layout
Now comes the fun part! Lay out the fabric strips on the canvas backing in your desired design. Mix and match colors and patterns until you are satisfied with the overall look. You might want to step back every few minutes to see how it looks from a distance.
Step 4: Attach Strips
- Pin or Clip: Start at one edge of the canvas and pin or clip down the fabric strips, keeping them spaced evenly. Make sure the ends hang over the edges slightly for trimming later.
- Sewing: If you're using a sewing machine, sew each strip onto the canvas backing. Use a straight stitch along the top edge of each fabric piece and a ¼ inch seam allowance.
Tip: If you’re new to sewing, go slowly — it’s better to take your time than to rush and mess up!
- Hot Gluing: If you prefer adhesive, you can hot glue down each strip instead. Apply glue along the top edge and press the strip firmly into place.
Step 5: Finish Edges
Once all fabric strips are attached, take a moment to trim any overhanging ends along the edges of the canvas. This gives your rug a neater finish.
Step 6: Secure Edges (Optional)
For extra durability, use fabric glue along the edges of the fabric strips. This helps prevent fraying or loosening over time.
Step 7: Iron to Flatten
Once everything is secured, lightly press the rug with an iron on a low heat setting. This helps smooth out any bumps and ensures that it lies flat.
Assembly & Finishing
At this point, all your strips should be secured to the canvas. If you’ve used hot glue, allow it to dry completely for at least 30 minutes before moving your rug.
To give your rug a more finished look, consider doing a zigzag stitch around the edges of the canvas backing — it’s optional but adds a nice touch.
Common Mistakes to Avoid
- Rushing the glue. If you don’t let the glue dry completely, the strips can come loose when you walk on the rug.
- Cutting uneven strips. Measuring and cutting your strips evenly will give you a more polished final product. It’s worth taking the time to make them even.
- Placing strips too closely together. This can make the rug difficult to walk on. Aim to give each piece enough space to lay down flat.
- Skipping the ironing step. If you don’t iron your fabric, it can create uneven surfaces and bumps that are unsightly.
- Not checking the layout. Before you attach the strips, make sure you love the design! Once they're glued or sewn, it’s hard to change things around.
Make It Your Own: Variations and Ideas
- Explore Color Schemes: Use a specific color palette (like pastels or bolds) for a themed rug; this can really change the vibe of the space!
- Try Different Materials: Don’t feel boxed in! Upcycled t-shirts, curtains, or heavy bed linens can work wonderfully and give your rug a softer feel.
- Scale Up or Down: If you want a larger rug, just adjust your canvas size and the number of fabric strips. A smaller version can work great as a bedside rug too.
- Gift It: Use seasonal fabrics for cozy gifts. A pastel rag rug could be delightful for a spring birthday!
- Add Embellishments: You can sew on buttons or patches to personalize your rug even more.
Feel free to get creative and make this project your own!
Before You Go
Pin this for the next rainy afternoon: Don’t forget to save this project so you have the measurements and steps handy when you’re ready to gather your fabric scraps and dive into making your own rag rug.
Come back and tell me how it went: I genuinely want to hear how your rug turns out, so ask any questions you might have or share fun moments from your crafting adventure. No question is too basic!
Show off what you made: I'd love to see your creations, so don’t hold back on showing off your beautiful rag rug once it’s finished! Enjoy the process and happy crafting!